blog
How to Restore a Single Table Using Percona Xtrabackup?

Backups are the means of protecting from data loss – should something happen, you can easily restore it from the backup. You cannot predict what part of the data will have to be restored – it can be everything or just a subset. Typically you want to have a full backup to ensure you can handle a total data loss scenario but what would happen if only a single table had been dropped? Can we do a partial restore if we used Xtrabackup to create our safety data copy? Let’s explore this scenario in a short blog post.
Partial Restore Using Xtrabackup
The main thing you have to keep in mind before you perform a partial restore with Xtrabackup is that this will break the consistency of the node where you would restore the backup. This is extremely important in replication or Galera setups where the consistency of the cluster is paramount as otherwise replication (standard or Galera) may break.
How to approach this problem? It all depends on your environment. One of the solutions could be to use a separate host to restore missing data and then proceed with regular logical backup, something that you can restore on the live cluster without introducing data inconsistency.
Alternatively, if you can afford to stop the whole cluster, you can perform the restore on all of the nodes in the cluster – this as well will result in a consistent state of the data across the whole environment. We won’t go into details how to proceed because, as we stated, this may depend on your business requirements, ability to schedule a downtime and so on.
For now let’s take a look how to restore a single table, not focusing where you would do that.
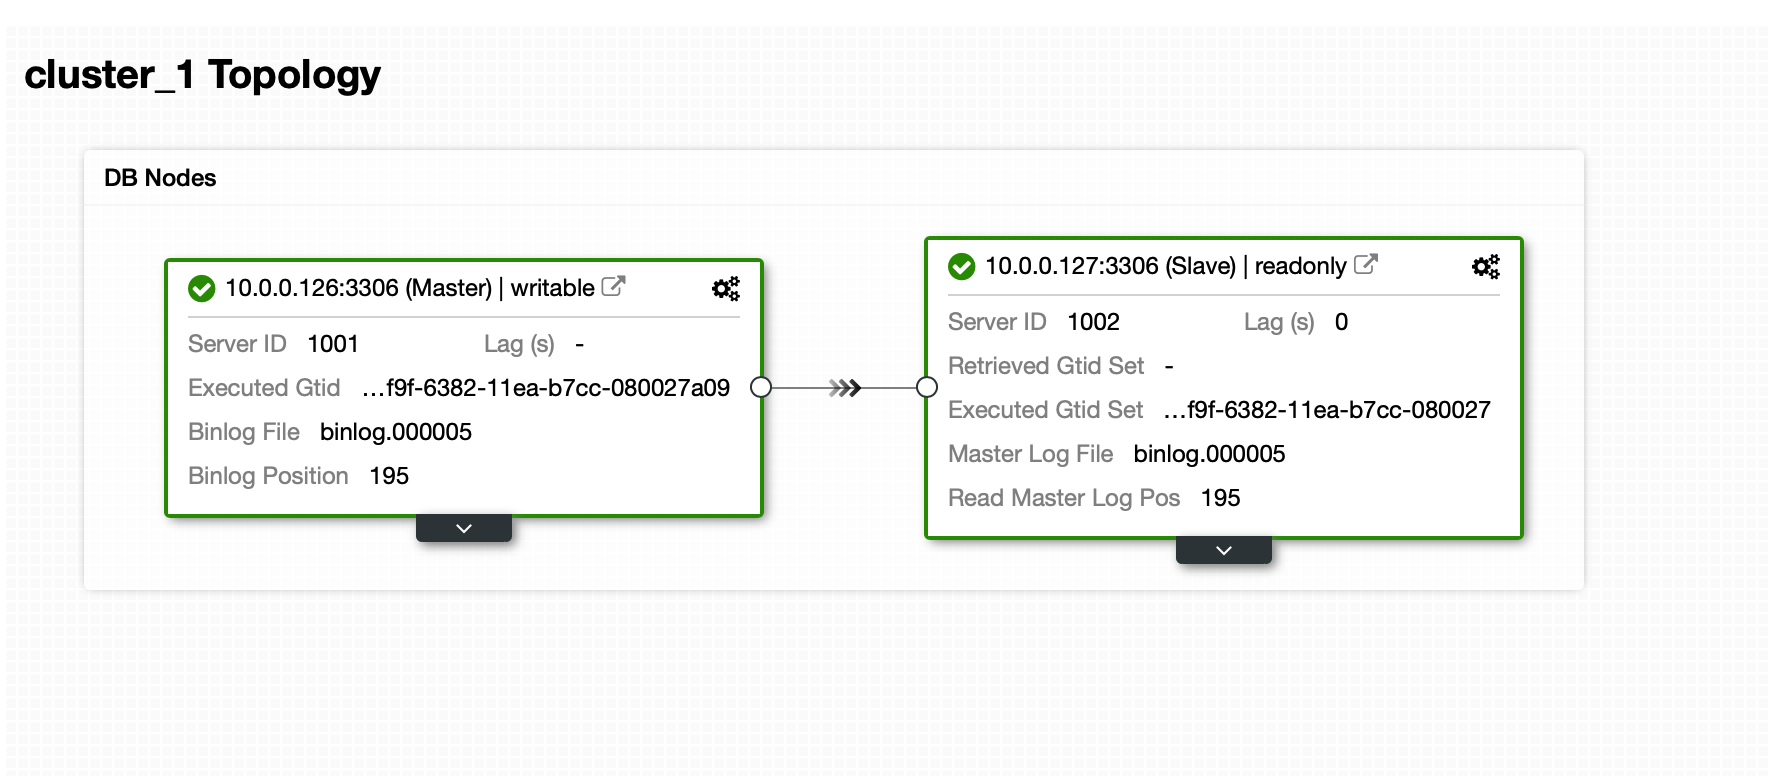
We are assuming that a full backup created by Xtrabackup is ready. We have a simple environment of asynchronous replication with one master and one slave. We use Percona Server 8.0 therefore we ensured we have percona-xtrabackup-80 installed.
As can be seen, the backup has been created:
root@vagrant:~# ls -alh /backup/

total 149M

drwxr-xr-x  6 root root 4.0K Mar 13 12:24 .

drwxr-xr-x 25 root root 4.0K Mar 13 12:23 ..

-rw-r-----  1 root root 479 Mar 13 12:24 backup-my.cnf

-rw-r-----  1 root root 195 Mar 13 12:24 binlog.000005

-rw-r-----  1 root root   16 Mar 13 12:24 binlog.index

-rw-r-----  1 root root 5.8K Mar 13 12:24 ib_buffer_pool

-rw-r-----  1 root root 100M Mar 13 12:24 ibdata1

drwxr-x---  2 root root 4.0K Mar 13 12:24 mysql

-rw-r-----  1 root root 24M Mar 13 12:24 mysql.ibd

drwxr-x---  2 root root 4.0K Mar 13 12:24 performance_schema

drwxr-x---  2 root root 4.0K Mar 13 12:24 sbtest

drwxr-x---  2 root root 4.0K Mar 13 12:24 sys

-rw-r-----  1 root root 12M Mar 13 12:24 undo_001

-rw-r-----  1 root root 12M Mar 13 12:24 undo_002

-rw-r-----  1 root root   63 Mar 13 12:24 xtrabackup_binlog_info

-rw-r-----  1 root root   99 Mar 13 12:24 xtrabackup_checkpoints

-rw-r-----  1 root root 540 Mar 13 12:24 xtrabackup_info

-rw-r-----  1 root root 8.5K Mar 13 12:24 xtrabackup_logfile

-rw-r-----  1 root root 248 Mar 13 12:24 xtrabackup_tablespaces
Now, if we want to restore it, we have to prepare the backup – it’s a standard process for Xtrabackup. There is one major difference though in a way we will prepare it. We will use –export flag:
root@vagrant:~# xtrabackup --prepare --export --target-dir=/backup/Now we can restore a particular table following this process:
- We have to create the table using exactly the same schema as it used to have when the backup has been taken.
- We have to discard its tablespace
- We will copy the tablespace from the backup along with its *.cfg file
- We will import new tablespace
Let’s assume one of the tables has been accidentally truncated:
mysql> SELECT COUNT(*) FROM sbtest.sbtest11G

*************************** 1. row ***************************

COUNT(*): 0

1 row in set (0.00 sec)
In this case we already have the table with a proper schema in place and we can proceed to step 2):
mysql> ALTER TABLE sbtest.sbtest11 DISCARD TABLESPACE;

Query OK, 0 rows affected (0.02 sec)
Now we have to copy the data from the backup:
root@vagrant:~# cp /backup/sbtest/sbtest11.* /var/lib/mysql/sbtest/

root@vagrant:~# chown mysql.mysql /var/lib/mysql/sbtest/sbtest11.*
Finally, we can import the restored tablespace:
mysql> ALTER TABLE sbtest.sbtest11 IMPORT TABLESPACE;

Query OK, 0 rows affected (0.48 sec)


mysql> SELECT COUNT(*) FROM sbtest.sbtest11G

*************************** 1. row ***************************

COUNT(*): 100000

1 row in set (0.05 sec)
As you can see, the contents of the table have been restored. Now, based on how we approached the whole problem, we can either repeat this process on all of the nodes in the cluster or we can use mysqldump or SELECT … INTO OUTFILE to extract this data and then load it on the live cluster.
Please keep in mind that Xtrabackup allows as well to take a backup of a single database or single table. This is another feature, loosely tied to what we have just discussed – it is not required to create a backup of a single table to be able to restore it. What is required though is the schema – you may want to schedule backups of the schema (no data is required) using mysqldump that will go along with your xtrabackup backups. You may find them very handy if your schema changes often.
How to Restore a Single Table Using ClusterControl?
ClusterControl, as of now, does not come with an ability to restore a single table out of full backup. You can schedule partial backups with ClusterControl though. Then you can use those backups and restore them on a separate host and then extract the data and apply it on the live cluster.
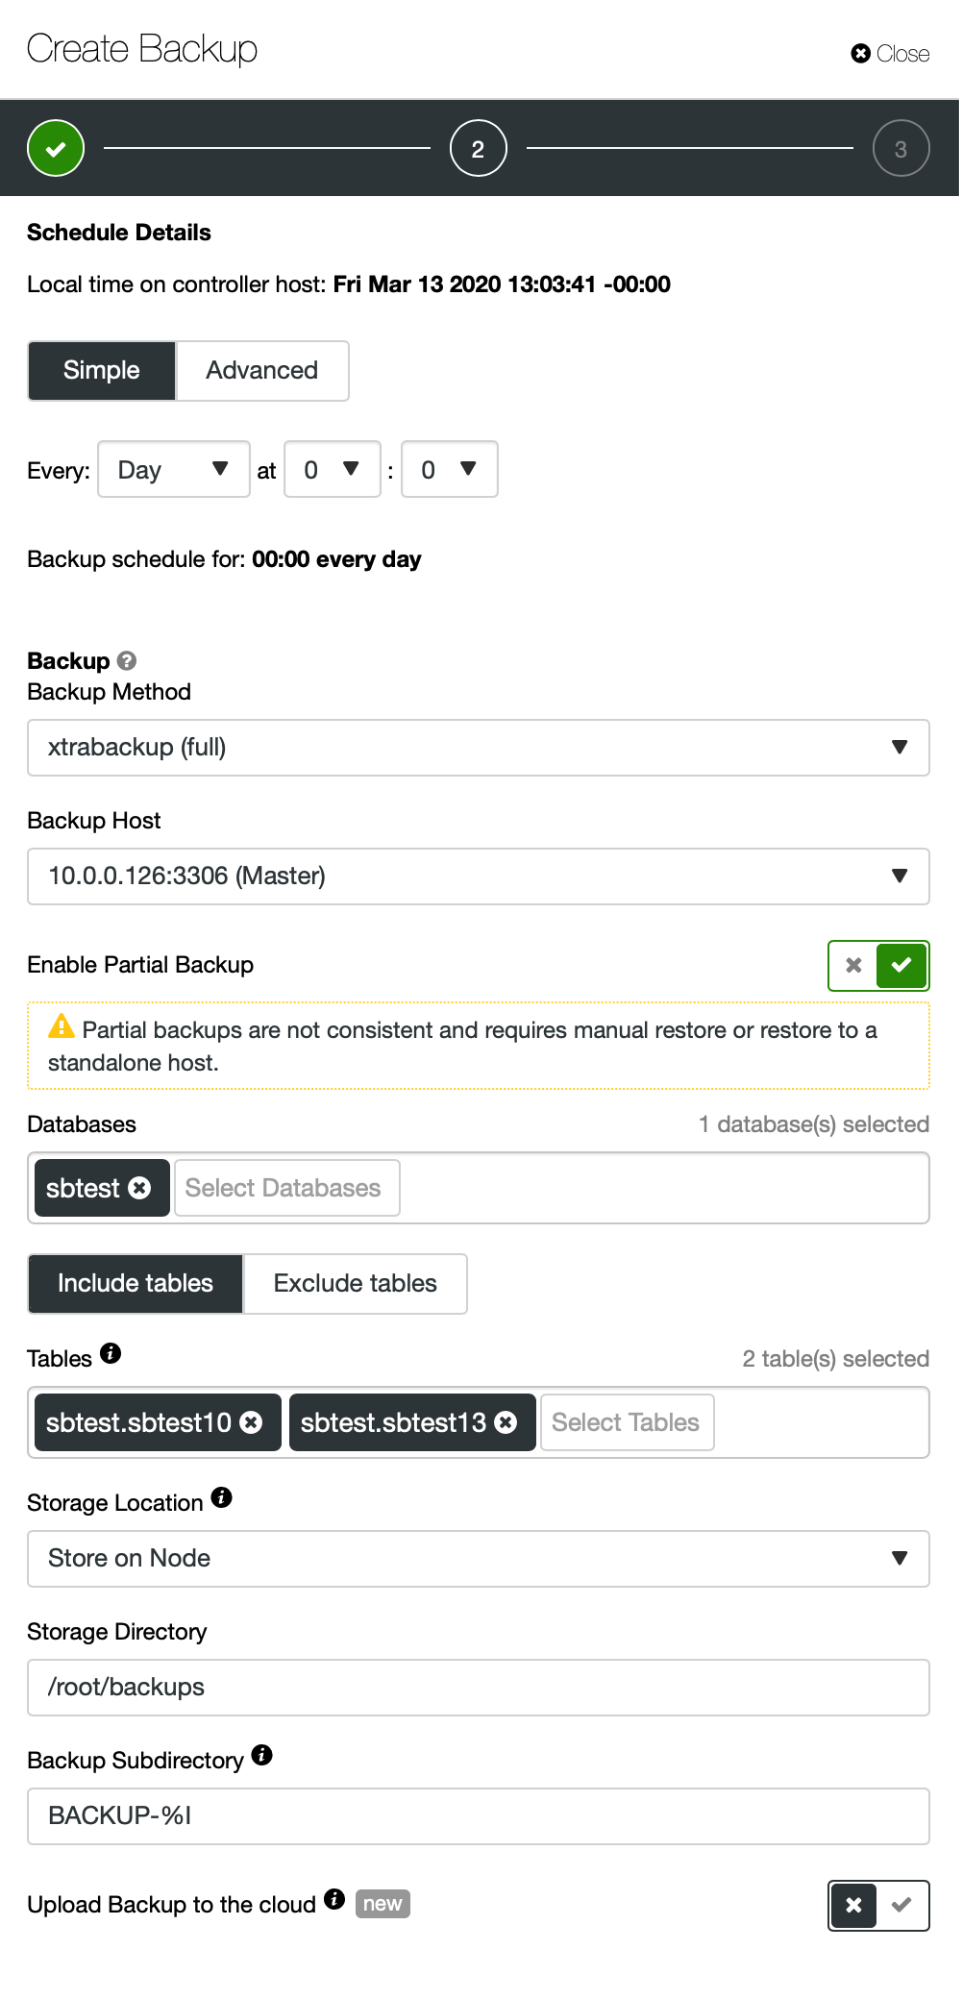
As you can see on the screenshot, you can decide which database you want to backup and then list the tables (or decide that you want to include all of them) you would like to backup. You can setup a backup schedule where you would backup individual tables, one at a time. You could as well design the schedule on a schema-per-schema basis. Once you have a backup ready, you can restore it on a standalone host:
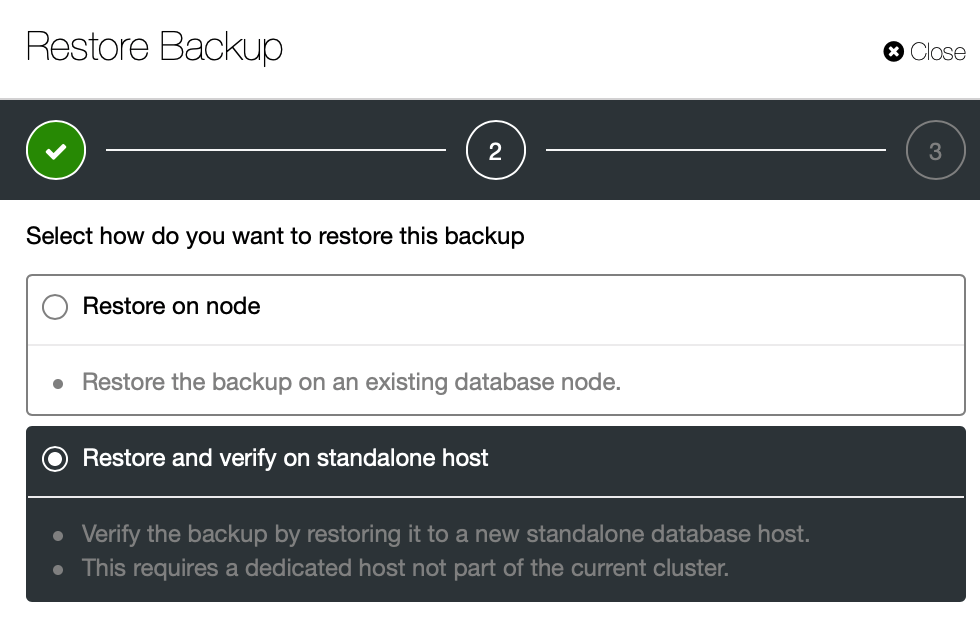
Then, we will have to decide what host it is. You also have to make sure this host can be reached from ClusterControl node using SSH.
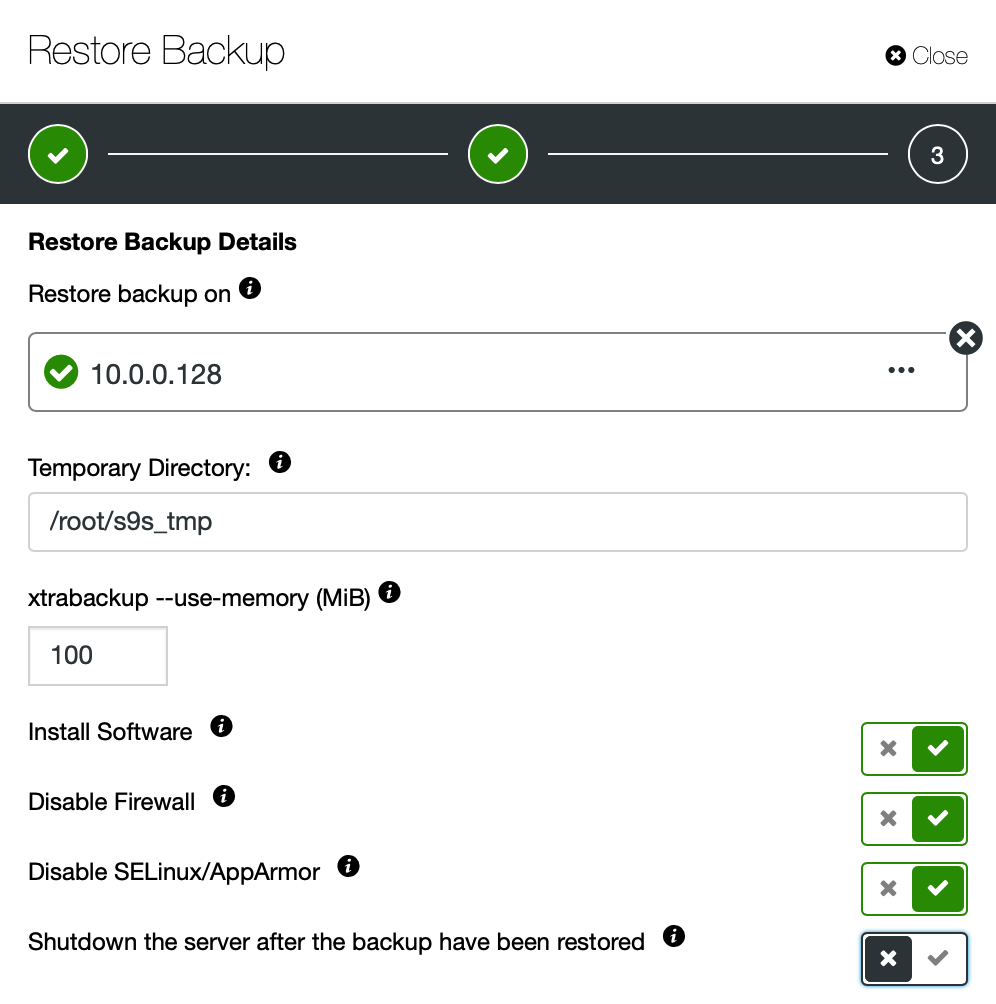
We want ClusterControl to setup software, provision it with data and then keep the server running after the backup has been restored.

We should review the options we took and then confirm that the backup should be restored.
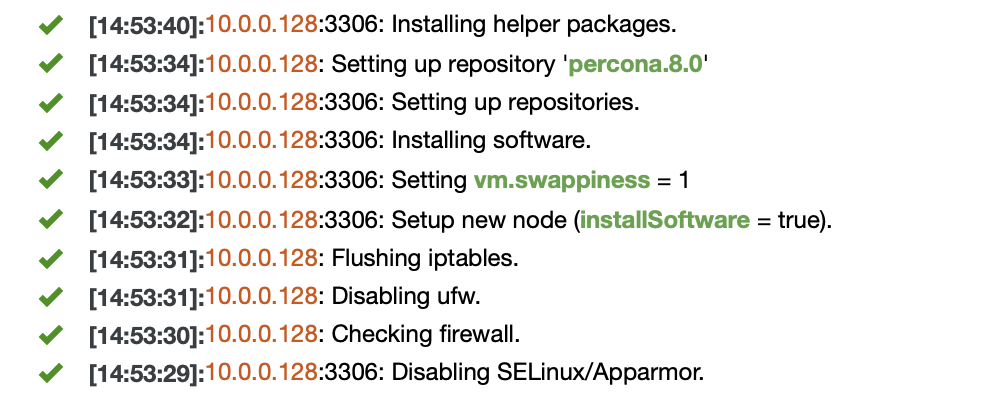
Job has been started and all we need to do is to wait for it to complete.
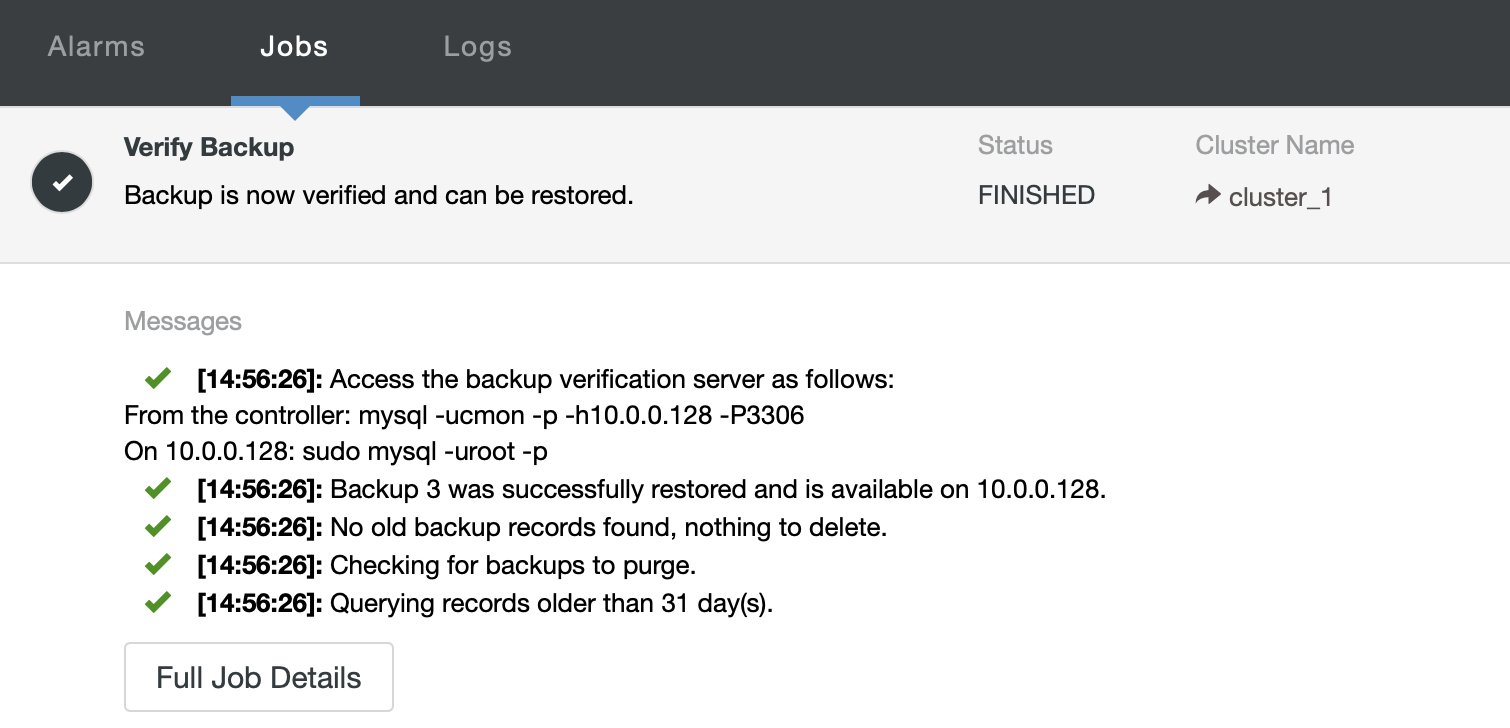
Once the job has completed, you can access the backup verification server, dump the missing data and restore it on the live cluster.