blog
Using Backups to Fix Common Failure Scenarios for MongoDB

Production outages are almost guaranteed to occur at some point. Accepting this fact and analyzing the timeline and failure scenario of your database outage can help better prepare, diagnose, and recover from the next one. To mitigate the impact of downtime, organizations need an appropriate disaster recovery (DR) plan. DR planning is a critical task for many SysOps/DevOps, but even though it’s foreseen; often it does not exist.
In this blog post, we will analyze different backup and failure scenarios in MongoDB database systems. We will also walk you through recovery and failover procedures for each respective scenario. These use cases will vary from restoring a single node, restoring a node in an existing replicaSet, and seeding a new node in a replicaSet. Hopefully this will give you a good understanding of the risks you might face and what to consider when designing your infrastructure.
Before we start discussing possible failure scenarios, let’s take a look at how MongoDB stores data and what types of backup are available.
How MongoDB Stores Data
MongoDB is a document-oriented database. Instead of storing your data in tables made out of individual rows (as a relational database does), it stores data in collections made out of individual documents. In MongoDB, a document is a big JSON blob with no particular format or schema. Additionally, data can be spread across different cluster nodes with sharing or replicated to slave servers with replicaSet.
MongoDB allows for very fast writes and updates by default. The tradeoff is that often you are not explicitly notified of failures. By default, most drivers do asynchronous, unsafe writes. This means that the driver does not return an error directly, similar to INSERT DELAYED with MySQL. If you want to know if something succeeded, you have to manually check for errors using getLastError.
For optimal performance, it’s preferable to use SSD rather than HDD for storage. It is necessary to take care of whether your storage is local or remote and take measures accordingly. It’s better to use RAID for protection of hardware defects and recovery schemes, but don’t rely completely on it as it doesn’t offer protection against adverse failures. The right hardware is the building block for your application to optimize performance and avoid a major debacle.
Disk-level data corruption or missing data files can prevent mongod instances from starting, and journal files may be insufficient to recover automatically.
If you are running with journaling enabled, there is almost never any need to run repair since the server can use the journal files to restore the data files to a clean state automatically. However, you may still need to run repair in cases where you need to recover from disk-level data corruption.
If journaling is not enabled, your only option may be to run repair command. mongod –repair should be used only if you have no other options as the operation removes (and does not save) any corrupt data during the repair process. This type of operation should always be preceded with backup.
MongoDB Disaster Recovery Scenario
In a failure recovery plan, your Recovery Point Objective (RPO) is a key recovery parameter that dictates how much data you can afford to lose. RPO is listed in time, from mili-seconds to days and is directly dependent on your backup system. It considers the age of your backup data that you must recover in order to resume normal operations.
To estimate RPO you need to ask yourself a few questions. When is my data is backed up? What is the SLA associated with the retrieval of the data? Is restoring a backup of the data acceptable or does the data need to be online and ready to be queried at any given time?
Answers to these questions will help drive what type of backup solution you need.
MongoDB Backup Solutions
Backup techniques have varying impacts on the performance of the running database. Some backup solutions degrade database performance enough that you may need to schedule backups to avoid peak usage or maintenance windows. You may decide to deploy new secondary servers just to support backups.
The three most common solutions to backup your MongoDB server/cluster are…
- Mongodump/Mongorestore – logical backup.
- Mongo Management System (Cloud) – Production databases can be backed up using MongoDB Ops Manager or if using the MongoDB Atlas service you can use a fully managed backup solution.
- Database Snapshots (disk-level backup)
Mongodump/Mongorestore
When performing a mongodump, all collections within the designated databases will be dumped as BSON output. If no database is specified, MongoDB will dump all databases except for the admin, test and local databases as they are reserved for internal use.
By default, mongodump will create a directory called dump, with a directory for each database containing a BSON file per collection in that database. Alternatively, you can tell mongodump to store the backup within one single archive file. The archive parameter will concatenate the output from all databases and collections into one single stream of binary data. Additionally, the gzip parameter can naturally compress this archive, using gzip. In ClusterControl we stream all our backups, so we enable both the archive and gzip parameters.
Similar to mysqldump with MySQL, if you create a backup in MongoDB it will freeze the collections while dumping the contents to the backup file. As MongoDB does not support transactions (changed in 4.2) you can’t make a 100% fully consistent backup unless you create the backup with the oplog parameter. Enabling this on the backup includes the transactions from the oplog that were executing while making the backup.
For better automation and You can run MongoDB from the command line or use external tools like ClusterControl. ClusterControl is recommended option for backup management and backup automation, as it allows for creating advanced backup strategies for various open-source database systems.
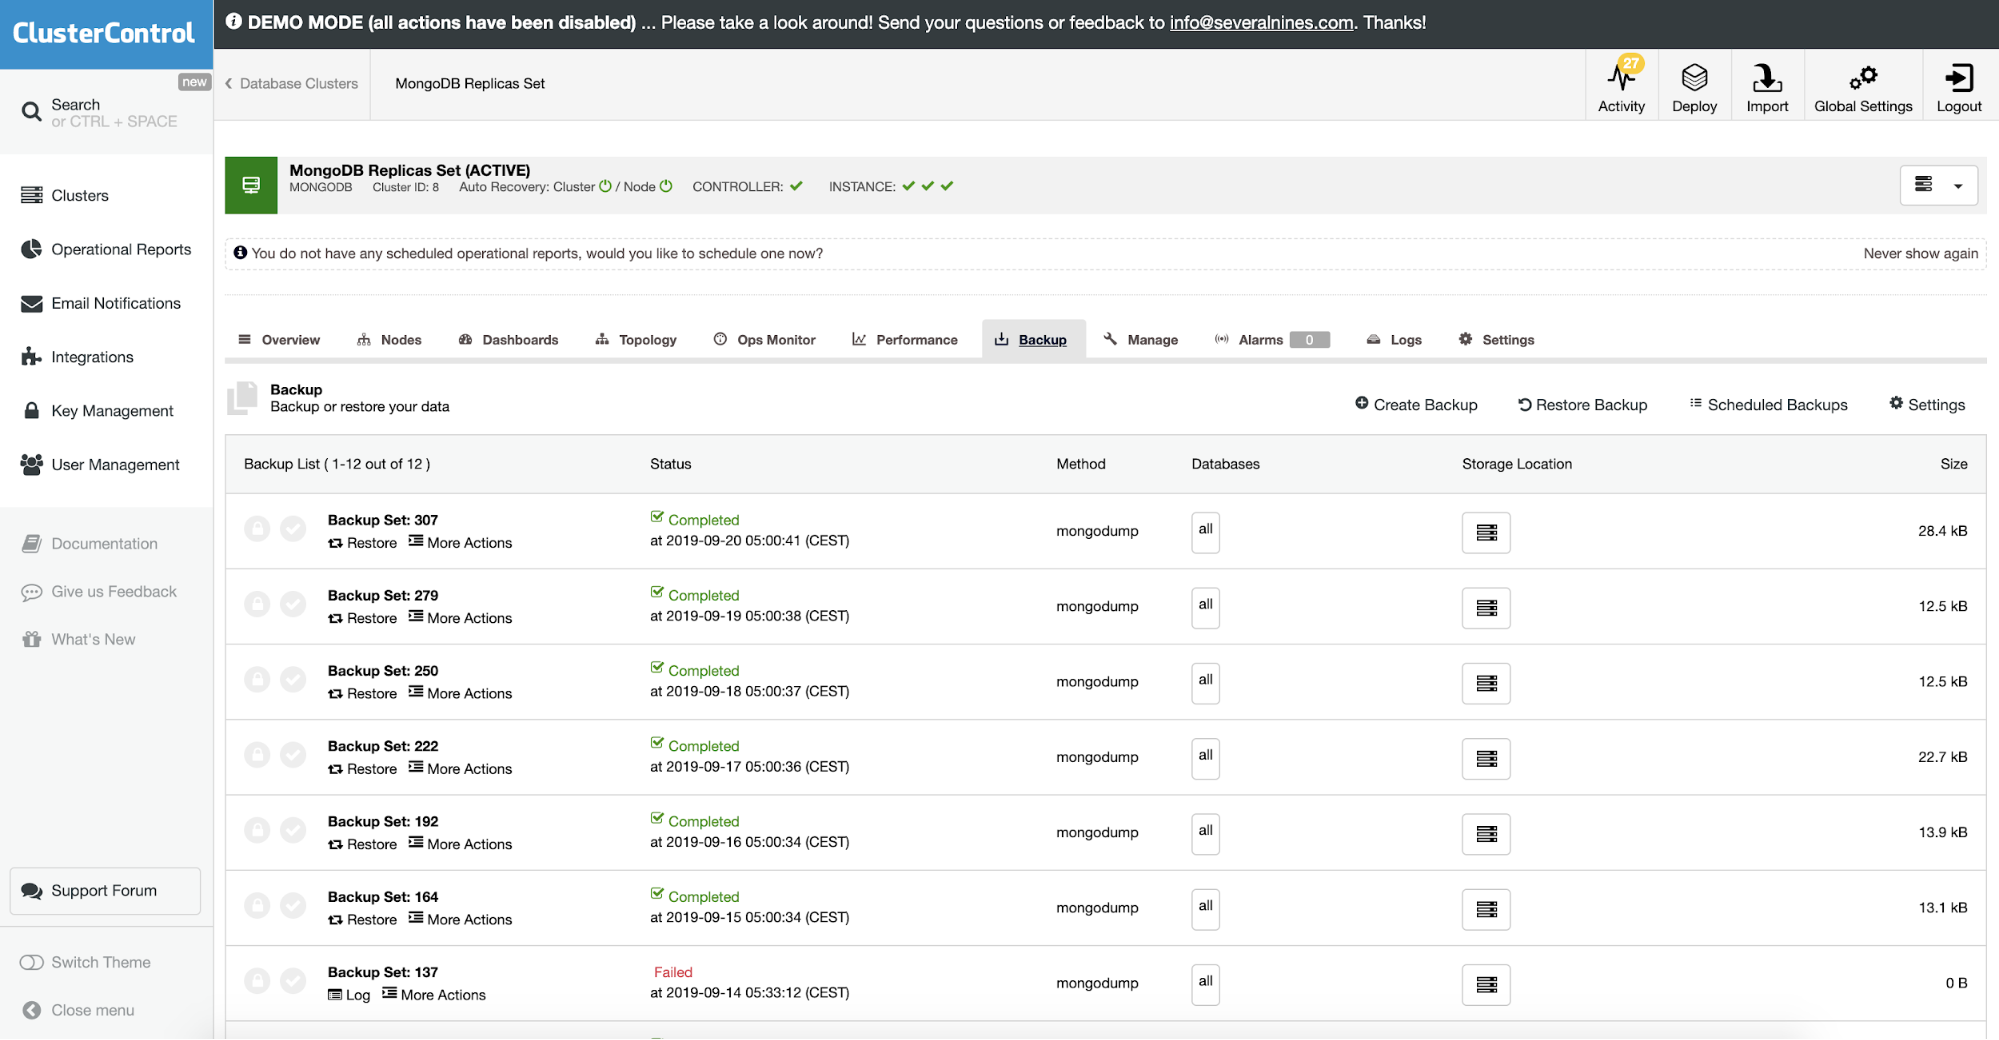
ClusterControl allows you to upload your backup to the cloud. It supports full backup and restores the encryption of mongodump. If you want to see how it works there is a demo on our website.
Restoring MongoDB From a Backup
There are basically two ways you can use a BSON format dump:
- Run mongod directly from the backup directory
- Run mongorestore and restore the backup
Run mongod Directly From a Backup
A prerequisite for running mongod directly from the backup is that the backup target is a standard dump, and is not gzipped.
The MongoDB daemon will then check the integrity of the data directory, add the admin database, journals, collection and index catalogs and some other files necessary to run MongoDB. If you ran WiredTiger as the storage engine before, it will now run the existing collections as MMAP. For simple data dumps or integrity checks, this works fine.
Running mongorestore
A better way to restore would obviously be by restoring the node using a mongorestore.
mongorestore dump/This will restore the backup into the default server settings (localhost, port 27017) and overwrite any databases in the backup that reside on this server. Now there are tons of parameters to manipulate the restore process, and we will cover some of the important ones.
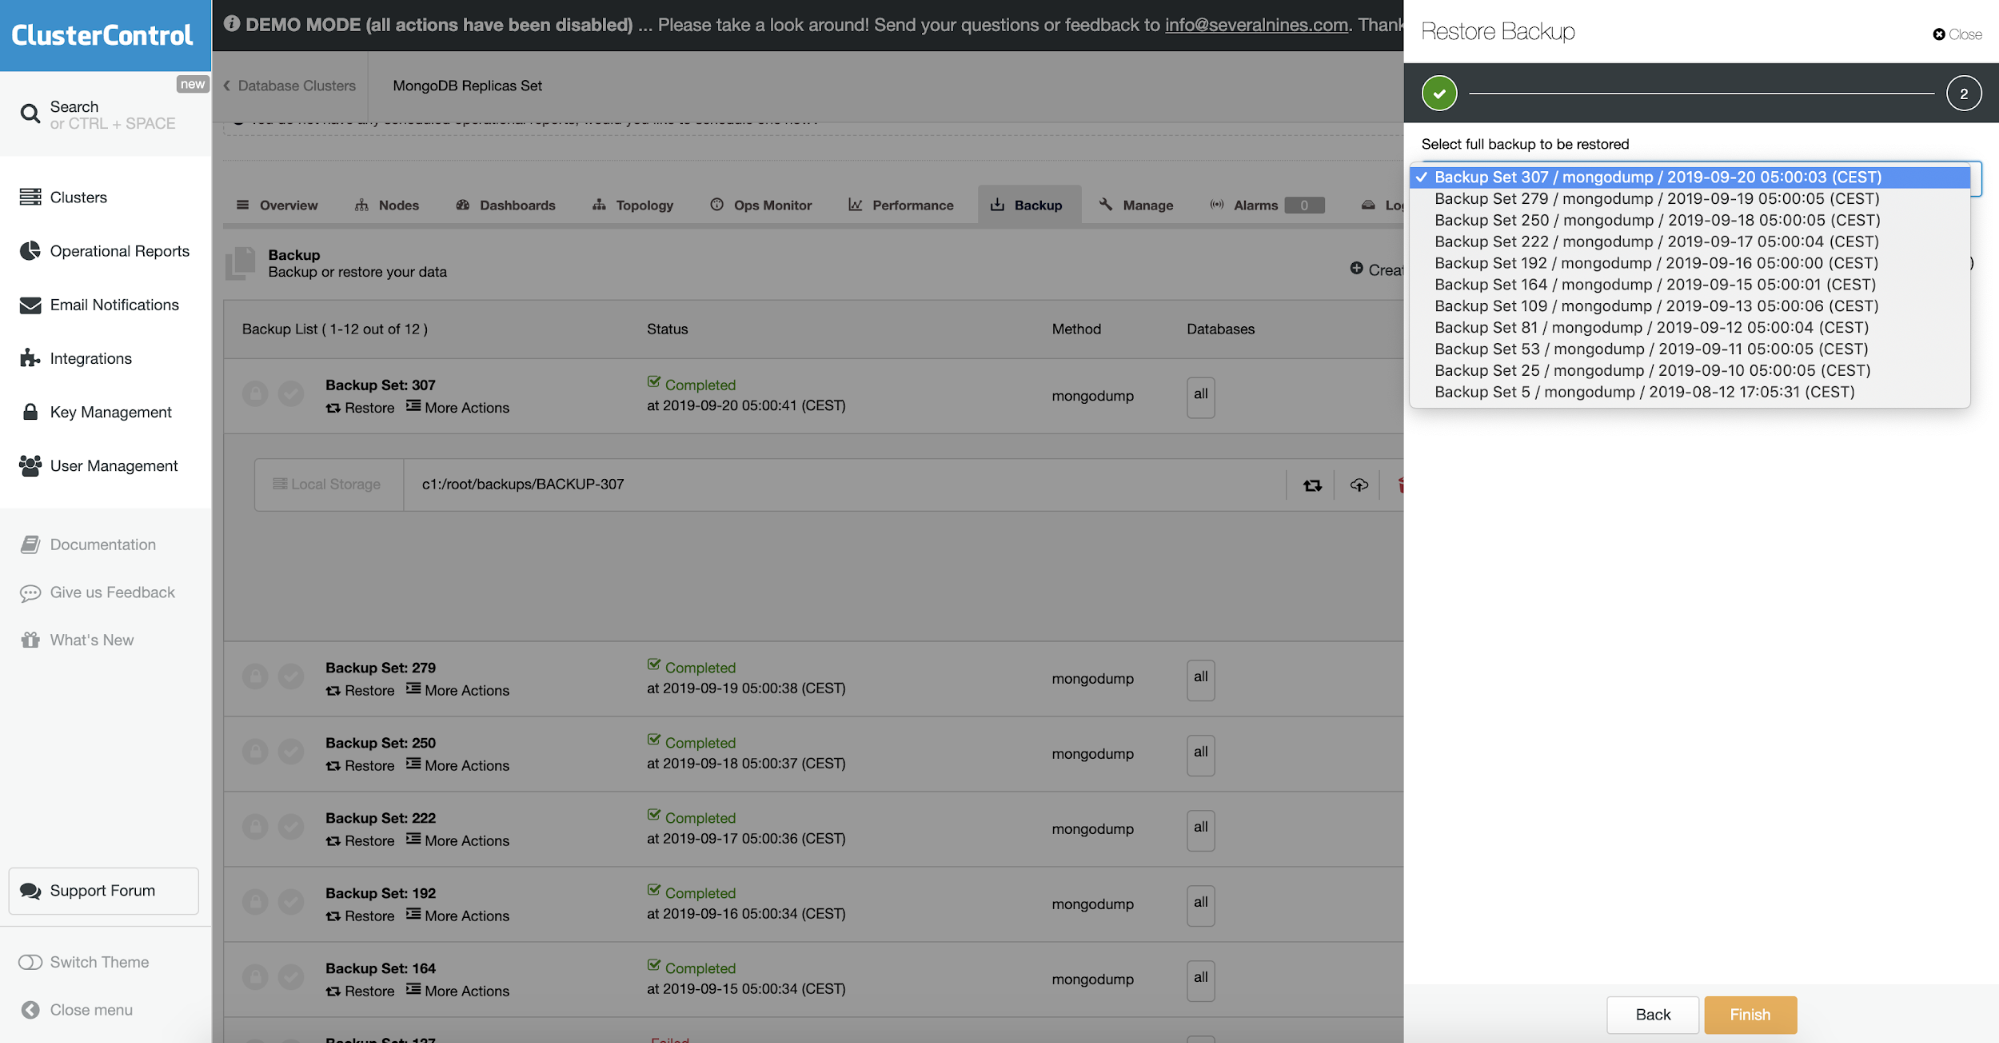
In ClusterControl this is done in restore backup option. You can choose the machine when the backup will be restored and process with take care of the rest. This includes encrypted backup where normally you would also need to decrypt your backup.
Object Validation
As the backup contains BSON data, you would expect the contents of the backup to be correct. However, it could have been the case that the document that got dumped was malformed, to begin with. Mongodump does not check the integrity of the data it dumps.
To address that use — objcheck which forces mongorestore to validate all requests from clients upon receipt to ensure that clients never insert invalid documents into the database. It can have a small impact on performance.
Oplog Replay
Oplog to your backup will enable you to perform a consistent backup and do a point-in-time-recovery. Enable the oplogReplay parameter to apply the oplog during the restore process. To control how far to replay the oplog, you can define a timestamp in the oplogLimit parameter. Only transactions up until the timestamp will then be applied.
Restoring a Full ReplicaSet From a Backup
Restoring a replicaSet is not much different than restoring a single node. Either you have to set up the replicaSet first and restore directly into the replicaSet. Or you restore a single node first and then use this restored node to build a replicaSet.
Restore node first, then create replicaSet
Now the second and third nodes will sync their data from the first node. After the sync has finished our replicaSet has been restored.
Create a ReplicaSet first, then restore
Different to the previous process, you can create the replicaSet first. First configure all three hosts with the replicaSet enabled, start-up all three daemons and initiate the replicaSet on the first node:
Now that we have created the replicaSet, we can directly restore our backup into it:
In our opinion restoring a replicaSet this way is much more elegant. It is closer to the way you would normally set up a new replicaSet from scratch, and then fill it with (production) data.
Seeding a New Node in a ReplicaSet
When scaling out a cluster by adding a new node in MongoDB, the initial sync of the dataset must happen. With MySQL replication and Galera, we are so accustomed to using a backup to seed the initial sync. With MongoDB this is possible, but only by making a binary copy of the data directory. If you don’t have the means to make a file system snapshot, you will have to face downtime on one of the existing nodes. The process, with downtime, is described below.
Seeding With a Backup
So what would happen if you restore the new node from a mongodump backup instead, and then have it join a replicaSet? Restoring from a backup should, in theory, give the same dataset. As this new node has been restored from a backup, it will lack the replicaSetId and MongoDB will notice. As MongoDB doesn’t see this node as part of the replicaSet, the rs.add() command then will always trigger the MongoDB initial sync. The initial sync will always trigger deletion of any existing data on the MongoDB node.
The replicaSetId is generated when initiating a replicaSet, and unfortunately can’t be set manually. That’s a shame as recovering from a backup (including replaying the oplog) would theoretically give us a 100% identical data set. It would be nice if the initial sync was optional in MongoDB to satisfy this use case.


