blog
Database Load Balancing with ProxySQL & AWS Aurora

ProxySQL is a proven solution that helps database administrators dealing with the requirements for high availability of their databases. Because it is SQL-aware, it can also be used for shaping the traffic heading towards databases – you can route queries to the particular nodes, you can rewrite queries should that be needed, you can also throttle the traffic, implement SQL firewall, create a mirror of your traffic and send it to a separate hostgroup.
ProxySQL 2.0.5 natively supports Galera Cluster, MySQL Replication and MySQL Group Replication. Unfortunately it does not, by default, support AWS Aurora; but there is still a workaround you can use.
You may be asking yourself, why should I bother with ProxySQL when AWS provides me with an endpoint which will do the read-write split for me? That’s indeed the case but it is just the r/w split. ProxySQL, on the other hand, gives you an opportunity for not only separating reads from writes but also to take control of your database traffic. ProxySQL often can save your databases from being overloaded by just rewriting a single query.
ProxySQL 2.0.5 and AWS Aurora
Should you decide to give ProxySQL a try, there are a couple of steps you have to take. First, you will need an EC2 instance to install the ProxySQL on. Once you have the instance up and running, you can install the latest ProxySQL. We would recommend to use repository for that. You can set it up by following the steps in the documentation page: https://github.com/sysown/proxysql/wiki. For Ubuntu 16.04 LTS, which we used, you have to run:
apt-get install -y lsb-release

wget -O - 'https://repo.proxysql.com/ProxySQL/repo_pub_key' | apt-key add -

echo deb https://repo.proxysql.com/ProxySQL/proxysql-2.0.x/$(lsb_release -sc)/ ./

| tee /etc/apt/sources.list.d/proxysql.list
Then it’s time to install ProxySQL:
apt-get update

apt-get install proxysql
Then we have to verify that we do have the connectivity from our ProxySQL instance to AWS Aurora nodes. We will use direct endpoints for the connectivity.
We can easily test the connectivity using telnet to the correct endpoint on port 3306:
root@ip-10-0-0-191:~# telnet dbtest-instance-1.cqb1vho43rod.eu-central-1.rds.amazonaws.com 3306

Trying 10.0.0.53...

Connected to dbtest-instance-1.cqb1vho43rod.eu-central-1.rds.amazonaws.com.

Escape character is '^]'.

J

5.7.12_2>ZWP-&[Ov8NzJ:H#Mmysql_native_password^CConnection closed by foreign host.
First one looks good. We’ll proceed with the second Aurora node:
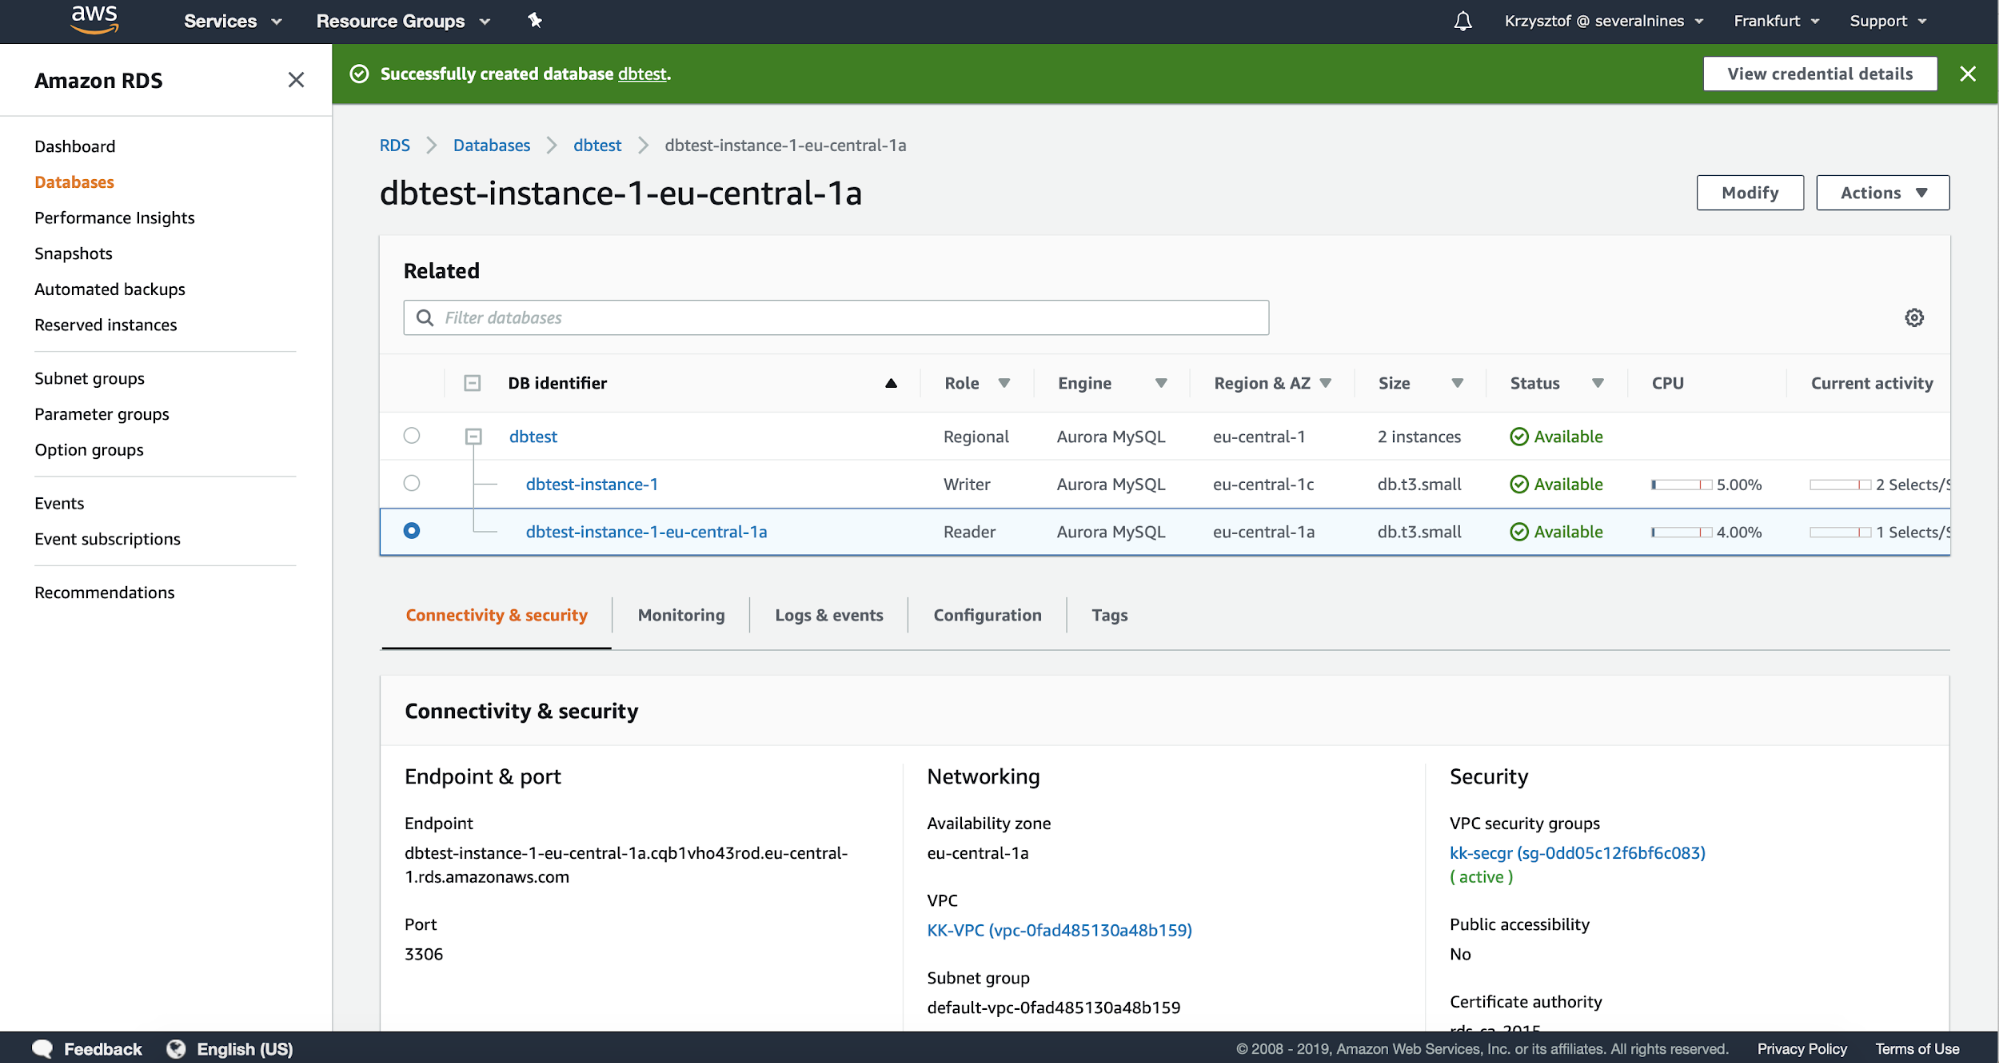
root@ip-10-0-0-191:~# telnet dbtest-instance-1-eu-central-1a.cqb1vho43rod.eu-central-1.rds.amazonaws.com 3306

Trying 10.0.1.90...

Connected to dbtest-instance-1-eu-central-1a.cqb1vho43rod.eu-central-1.rds.amazonaws.com.

Escape character is '^]'.

J

tr3'3rynMmysql_native_password^CConnection closed by foreign host.
Works great too. If you cannot connect to Aurora nodes you need to ensure that all the security bits are aligned properly: check the VPC configuration, see if ProxySQL node can access VPC of Aurora, check if security groups allow the traffic to pass through. AWS network security layer can be tricky to configure if you don’t have the experience but finally you should be able to make it work.
Having the connectivity sorted out we will need to create a user on Aurora. We will use that user for monitoring Aurora nodes in ProxySQL. First, we may have to install MySQL client on ProxySQL node:
root@ip-10-0-0-191:~# apt install mysql-client-core-5.7Then we will use the endpoint of the cluster to connect to the writer and create user on it:
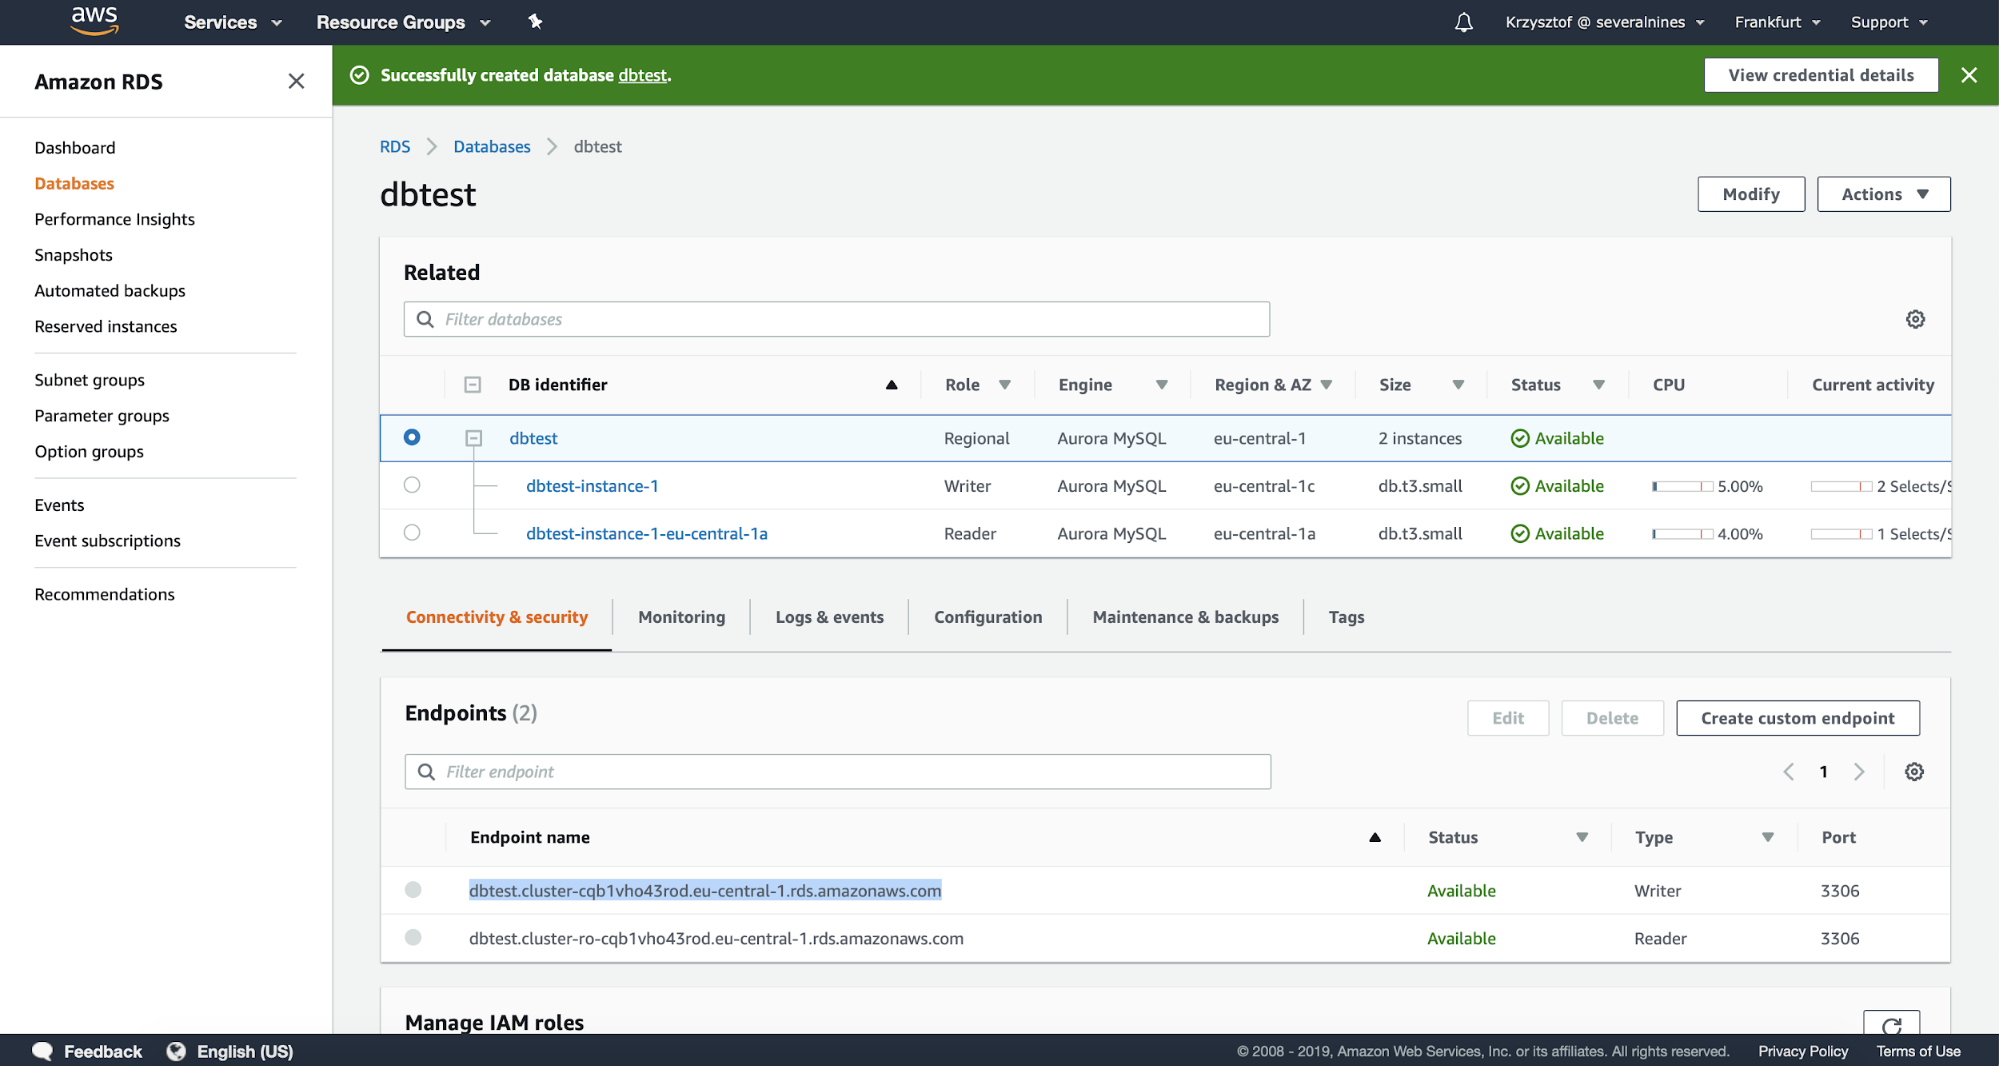
root@ip-10-0-0-191:~# mysql -h dbtest.cluster-cqb1vho43rod.eu-central-1.rds.amazonaws.com -u root -ppassword

mysql> CREATE USER 'monuser'@'10.0.0.191' IDENTIFIED BY 'mon1t0r';

Query OK, 0 rows affected (0.02 sec)

mysql> GRANT REPLICATION CLIENT ON *.* TO 'monuser'@'10.0.0.191';

Query OK, 0 rows affected (0.00 sec)
Having this done we can log into ProxySQL admin interface (by default on port 6032) to define the monitor user and its password.
root@ip-10-0-0-191:~# mysql -P6032 -u admin -padmin -h127.0.0.1

mysql> SET mysql-monitor_username='monuser';

Query OK, 1 row affected (0.00 sec)


mysql> SET mysql-monitor_password='mon1t0r';

Query OK, 1 row affected (0.00 sec)

mysql> LOAD MYSQL VARIABLES TO RUNTIME;

Query OK, 0 rows affected (0.00 sec)

mysql> SAVE MYSQL VARIABLES TO DISK;

Query OK, 116 rows affected (0.00 sec)
Now it’s time to define Aurora nodes in ProxySQL:
mysql> INSERT INTO mysql_servers (hostgroup_id, hostname) VALUES (10, 'dbtest-instance-1.cqb1vho43rod.eu-central-1.rds.amazonaws.com'), (20, 'dbtest-instance-1-eu-central-1a.cqb1vho43rod.eu-central-1.rds.amazonaws.com');

Query OK, 2 rows affected (0.01 sec)
As you can see, we use their direct endpoints as the hostname. Once this is done, we will use mysql_replication_hostgroup table to define reader and writer hostgroups. We will also have to pass the correct check type – by default ProxySQL looks for ‘read_only’ variable while Aurora uses ‘innodb_read_only’ to differentiate between the writer and readers.
mysql> SHOW CREATE TABLE mysql_replication_hostgroupsG

*************************** 1. row ***************************

       table: mysql_replication_hostgroups

Create Table: CREATE TABLE mysql_replication_hostgroups (

    writer_hostgroup INT CHECK (writer_hostgroup>=0) NOT NULL PRIMARY KEY,

    reader_hostgroup INT NOT NULL CHECK (reader_hostgroup<>writer_hostgroup AND reader_hostgroup>=0),

    check_type VARCHAR CHECK (LOWER(check_type) IN ('read_only','innodb_read_only','super_read_only')) NOT NULL DEFAULT 'read_only',

    comment VARCHAR NOT NULL DEFAULT '', UNIQUE (reader_hostgroup))

1 row in set (0.00 sec)


mysql> INSERT INTO mysql_replication_hostgroups VALUES (10, 20, 'innodb_read_only', 'Aurora');

Query OK, 1 row affected (0.00 sec)

mysql> LOAD MYSQL SERVERS TO RUNTIME;

Query OK, 0 rows affected (0.00 sec)
This is it, we can now see how ProxySQL configured the nodes in runtime configuration:
mysql> SELECT hostgroup_id, hostname, port  FROM runtime_mysql_servers;

+--------------+-----------------------------------------------------------------------------+------+

| hostgroup_id | hostname                                                                    | port |

+--------------+-----------------------------------------------------------------------------+------+

| 10           | | 3306 |

| 20           | dbtest-instance-1-eu-central-1a.cqb1vho43rod.eu-central-1.rds.amazonaws.com | 3306 |

| 20           | dbtest-instance-1.cqb1vho43rod.eu-central-1.rds.amazonaws.com               | 3306 |

+--------------+-----------------------------------------------------------------------------+------+

3 rows in set (0.00 sec)
As you can see, dbtest-instance-1.cqb1vho43rod.eu-central-1.rds.amazonaws.com is the writer. Let’s try the failover now:
mysql> SELECT hostgroup_id, hostname, port  FROM runtime_mysql_servers;

+--------------+-----------------------------------------------------------------------------+------+

| hostgroup_id | hostname                                                                    | port |

+--------------+-----------------------------------------------------------------------------+------+

| 10           | dbtest-instance-1-eu-central-1a.cqb1vho43rod.eu-central-1.rds.amazonaws.com | 3306 |

| 20           | dbtest-instance-1-eu-central-1a.cqb1vho43rod.eu-central-1.rds.amazonaws.com | 3306 |

| 20           | dbtest-instance-1.cqb1vho43rod.eu-central-1.rds.amazonaws.com               | 3306 |

+--------------+-----------------------------------------------------------------------------+------+

3 rows in set (0.00 sec)
As you can see, writer (hostgroup 10) has changed to the second node.
Conclusion
This is basically it – as you can see setting up AWS Aurora nodes in ProxySQL is pretty much simple process.


