blog
How to Easily Deploy TimescaleDB

A few days ago was the release of a new version of ClusterControl, the 1.7.2, where we can see several new features, one of the main ones is the support for TimescaleDB.
TimescaleDB is an open-source time-series database optimized for fast ingest and complex queries that supports full SQL. It’s based on PostgreSQL and it offers the best of NoSQL and Relational worlds for Time-series data. TimescaleDB supports streaming replication as the primary method of replication, which can be used in a high availability setup. However, PostgreSQL does not come with automatic failover and this is a problem in a high availability production environment. Manual failover usually implies that a human is paged and has to find a computer, log into the systems, understand what is going on, before initiating failover procedures. This translates into a long downtime period. Fortunately, there is a way to automate failovers with ClusterControl, which now supports TimescaleDB.
In this blog, we will see how to deploy a replicated TimescaleDB setup with automatic failover in just a few clicks by using ClusterControl. We’ll also see how to add a single database endpoint for applications via HAProxy. As a pre-requisite, you should install the 1.7.2 version of ClusterControl on a dedicated host or VM.
Deploy TimescaleDB
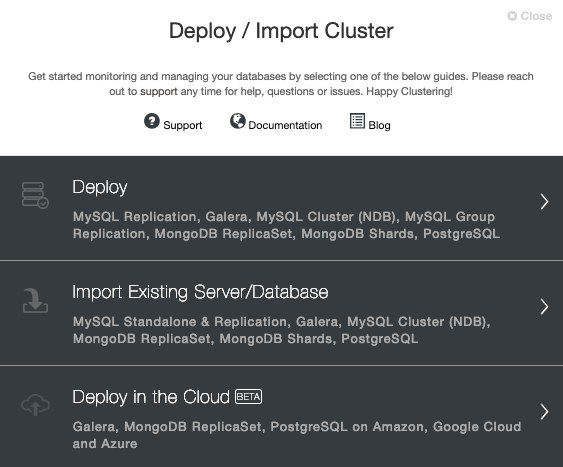
To perform a new installation of TimescaleDB from ClusterControl, simply select the option “Deploy” and follow the instructions that appear. Note that if you already have a TimescaleDB instance running, then you need to select the ‘Import Existing Server/Database’ instead.
When selecting TimescaleDB, we must specify User, Key or Password and port to connect by SSH to our TimescaleDB hosts. We also need a name for our new cluster and if we want ClusterControl to install the corresponding software and configurations for us.
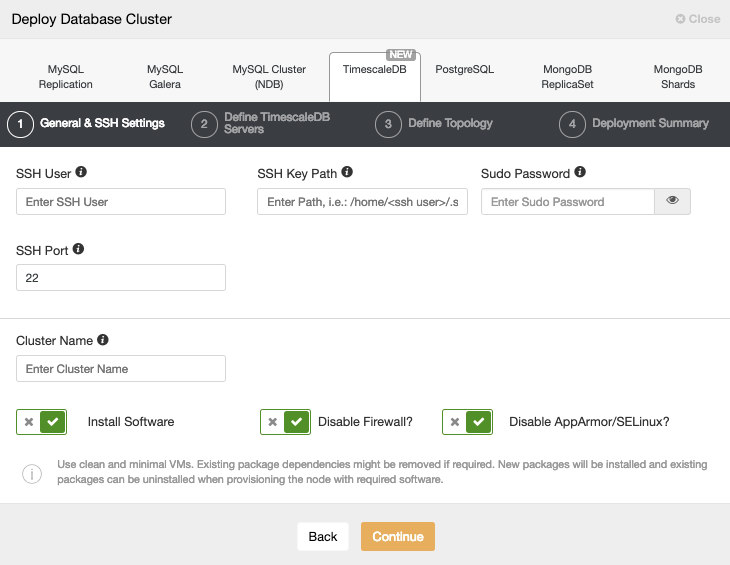
Please check the ClusterControl user requirement for this task here.
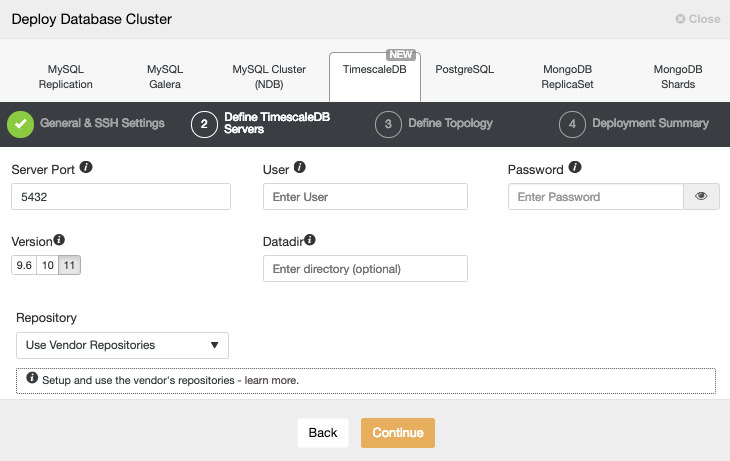
After setting up the SSH access information, we must define the database user, version and datadir (optional). We can also specify which repository to use.
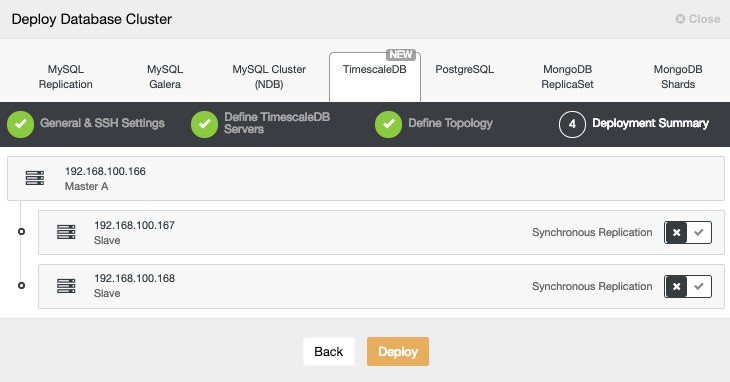
In the next step, we need to add our servers to the cluster we are going to create.
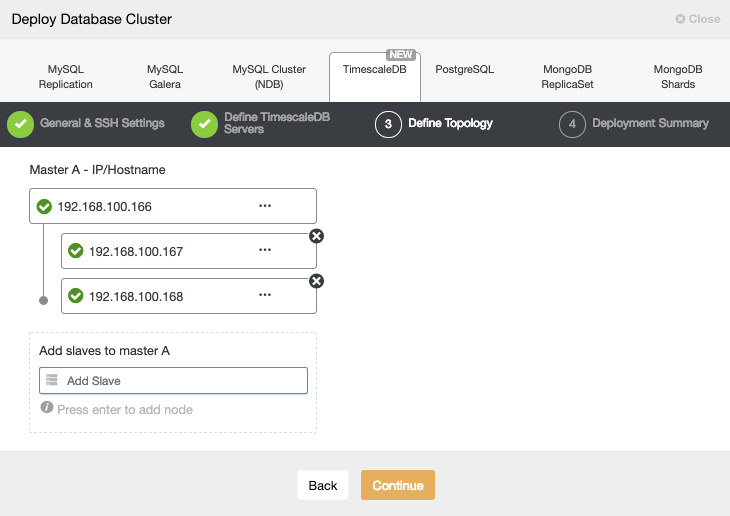
When adding our servers, we can enter IP or hostname.
In the last step, we can choose if our replication will be Synchronous or Asynchronous.
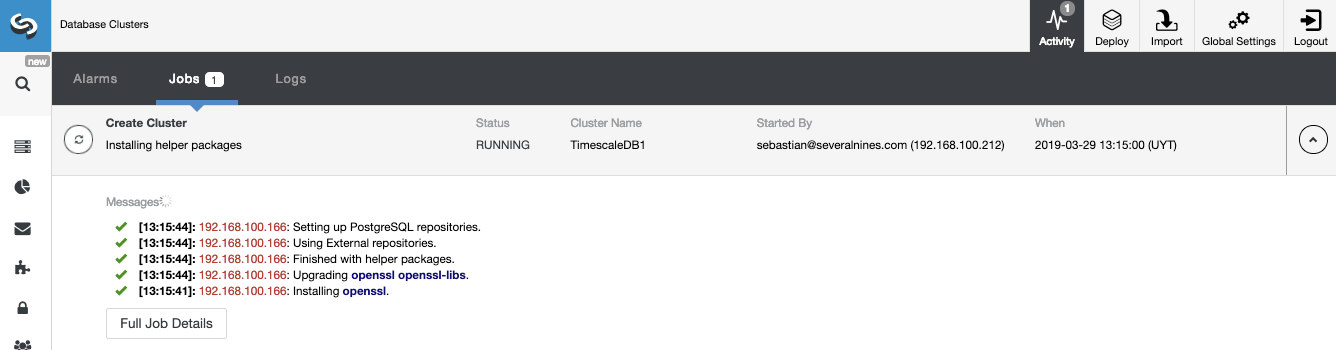
We can monitor the status of the creation of our new cluster from the ClusterControl activity monitor.
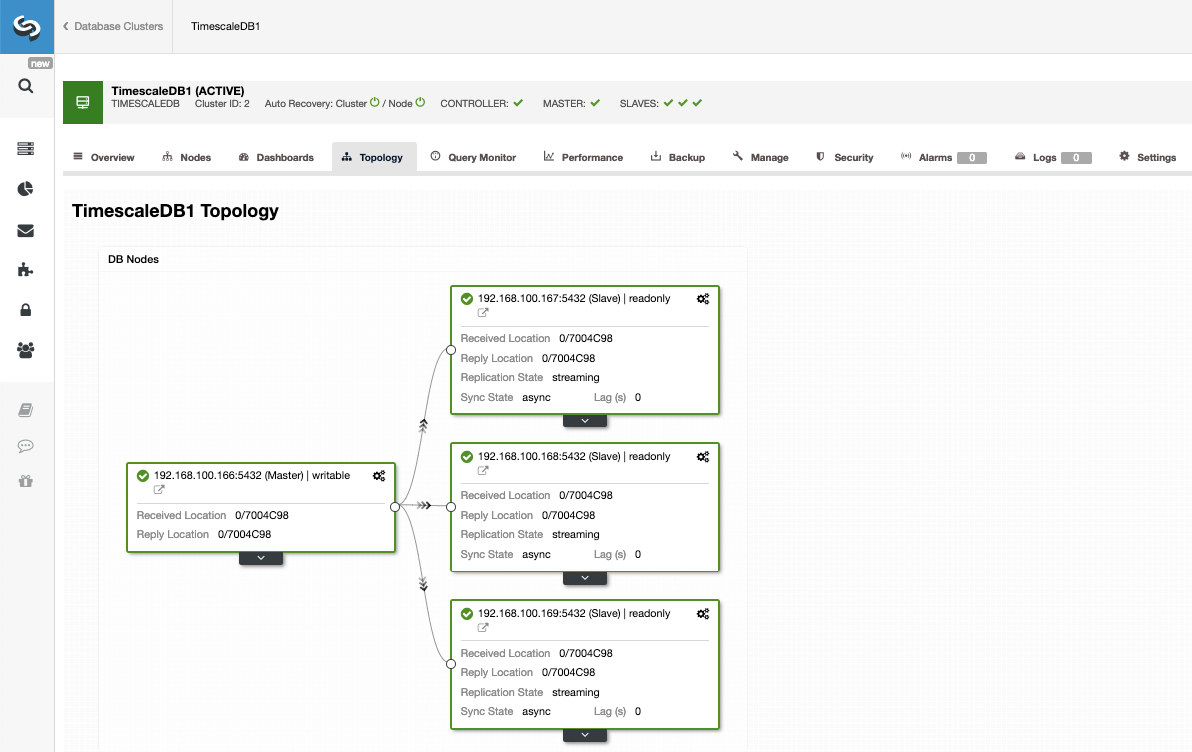
Once the task is finished, we can see our new TimescaleDB cluster in the main ClusterControl screen.

Once we have our cluster created, we can perform several tasks on it, like adding a load balancer (HAProxy) or a new replica.
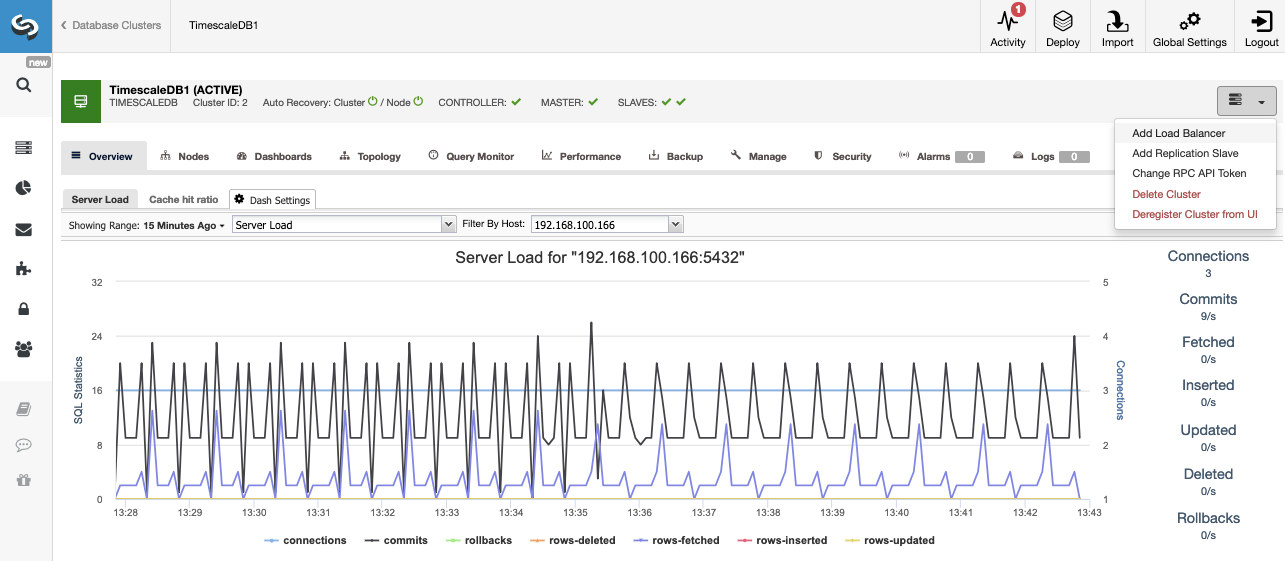
Scaling TimescaleDB
If we go to cluster actions and select “Add Replication Slave”, we can either create a new replica from scratch or add an existing TimescaleDB database as a replica.
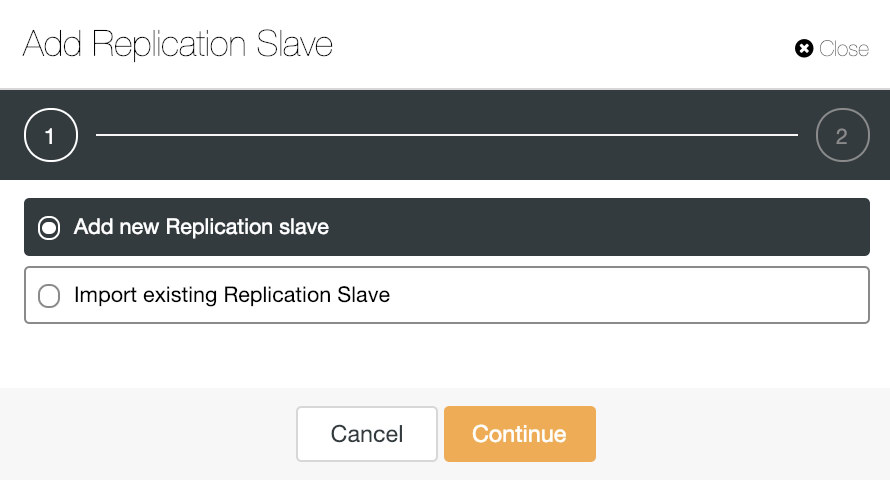
Let’s see how adding a new replication slave can be a really easy task.
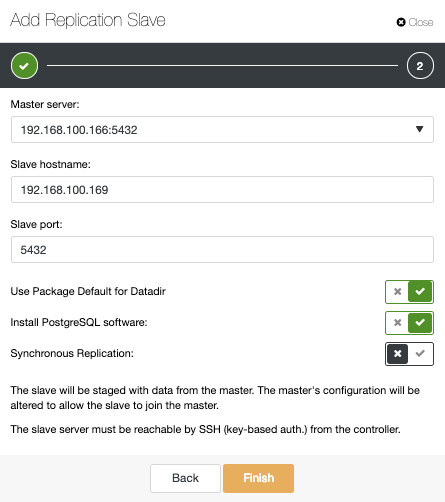
As you can see in the image, we only need to choose our Master server, enter the IP address for our new slave server and the database port. Then, we can choose if we want ClusterControl to install the software for us and if the replication slave should be Synchronous or Asynchronous.
In this way, we can add as many replicas as we want and spread read traffic between them using a load balancer, which we can also implement with ClusterControl.
From ClusterControl, you can also perform different management tasks like Reboot Host, Rebuild Replication Slave or Promote Slave, with one click.
Conclusion
As we have seen above, you can now deploy TimescaleDB by using ClusterControl. Once deployed, ClusterControl provides a whole range of features, from monitoring, alerting, automatic failover, backup, point-in-time recovery, backup verification, to scaling of read replicas. This can help you manage TimescaleDB in a friendly and intuitive way.


