blog
Deploying MySQL Galera Cluster Using Vagrant

Setting up environments, starting processes, and monitoring these processes on multiple machines can be time consuming and error prone – stale settings from previous test runs, wrong configurations, wrong commands, package conflicts, etc.. quite a few things can go wrong. If you are using Galera Cluster, you would probably want application developers to have a proper development environment on their local computers. Proper here means testing your code on a local Galera Cluster, not on a single instance MySQL. Galera Cluster differs from a single instance MySQL, so this allows you to catch these differences early in the project. But how can you quickly roll out a mini test clusters to your application developers, without having them waste time setting these up? This is where Vagrant comes in.
Vagrant is a system that allows you to easily create and move development environments from one machine to another. Simply define what type of VM you want in a file called Vagrantfile and then fire them up with a single command. It integrates well with virtual machine providers like VirtualBox, VMware and AWS. In this blog, we’ll show you how to expedite the deployment of your development environment using some Vagrant boxes we’ve put together.
Our Vagrantfile deploys 4 instances on VirtualBox platform, three for Galera nodes plus one for ClusterControl. It requires the following Vagrant boxes available on our site:
- s9s-cc (505 MB) – Ubuntu 14.04.x, ClusterControl 1.2.10
- s9s-galera (407 MB) – Ubuntu 14.04.x, Percona XtraDB Cluster 5.6
Here are the main steps:
- Install Vagrant and Virtualbox
- Download the related Vagrant boxes and Vagrantfile
- Launch the instances
- Bootstrap the Galera cluster
- Add the cluster to ClusterControl.
The following architecture diagram shows what you will get once everything is deployed:

Ensure that you have Vagrant and VirtualBox installed. We are not going to cover the installation of these in this blog post.
Deploying the Cluster
1. Download and install the Vagrant boxes:
$ vagrant box add s9s-cc https://severalnines.com/downloads/cmon/s9s-cc.box
$ vagrant box add s9s-galera https://severalnines.com/downloads/cmon/s9s-galera.box
Make sure you keep the box names s9s-cc and s9s-galera, otherwise you’ll need to change the corresponding values in the Vagrantfile.
2. Create a directory and download the Vagrantfile:
$ mkdir s9s-cc
$ cd s9s-cc
$ wget https://severalnines.com/downloads/cmon/Vagrantfile
3. Launch 4 instances, each requires 768 MB of memory:
$ vagrant up4. Verify if all instances are up with:
$ vagrant status4. SSH to vm2 (n2) and run the start-node.sh script located under s9s directory. This will copy the relevant my.cnf file and bootstrap the Galera cluster:
$ vagrant ssh vm2
vagrant@n2:~$ cd s9s
vagrant@n2:~$ ./start-node.sh
5. Execute the same on vm3 (n3) and vm4 (n4). This will copy the relevant my.cnf file and start the node to join n2:
$ vagrant ssh vm3
vagrant@n3:~$ cd s9s
vagrant@n3:~$ ./start-node.sh
$ vagrant ssh vm4
vagrant@n4:~$ cd s9s
vagrant@n4:~$ ./start-node.shAt this point, our Galera cluster should be up and running. You should be able to access each MySQL server on its respective IP address and port. The default MySQL root password is root123 while the ‘cmon’ password is cmon.
Adding Galera Cluster into ClusterControl
Once Galera Cluster is running, add it to ClusterControl. Open a web browser and point it to http://localhost:8080/clustercontrol. Create a default admin user with a valid email address and password, and click ‘Register & Create User’.
Once logged in, click on ‘Add Existing Server/Cluster’, and enter the following details:

Click ‘Add Cluster’ and monitor the output of cluster jobs. Once done, you should able to see the Galera Cluster listed:
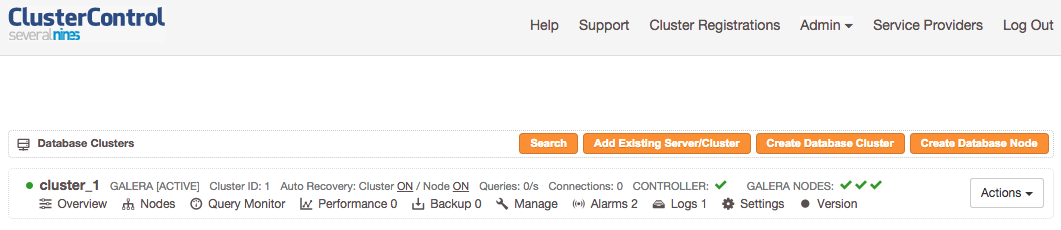
That’s it! Quick, simple and works every time 🙂