blog
Install SQL Server on Linux using ClusterControl

Microsoft has taken a big step in releasing SQL Server Linux for users to build their applications. That’s great news for organizations where the only requirement is that you should be using SQL Server 2017 or 2019.
In some of our earlier articles, we looked into the fact that SQL Server Linux provides command-line installation. You also need to learn basic commands for Linux for installation, configuration, and management. If you are looking for an automated way to Install, Configure, Manage SQL Server on Linux, then ClusterControl from Severalnines can help you achieve that.
ClusterControl’s support for SQL Server on Linux
Recently, ClusterControl added support for SQL Server on Linux. Using ClusterControl, you can achieve the following benefits:
-
Graphical installation of your SQL Server instances.
-
Access to tools that can provide automatic configuration such as SQL Server Agent, Certificates, Backups, Storage encryption, Backup retention, and restoring backups with a proper backup chain.
-
Upgrades and Patching (Upcoming)
-
Security and compliance (Upcoming)
-
Operational reporting and dashboards (Upcoming)
-
Performance management (Upcoming)
-
High availability (HA) and disaster recovery (DR) using SQL Server Always On Availability Groups (Upcoming)
Note: ClusterControl can install a standalone SQL Server on Linux with limited features in the initial release. It will begin adding the above-mentioned features in the upcoming release.
Installing SQL Server using ClusterControl
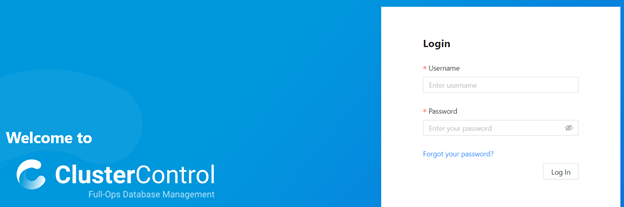
To begin installing SQL Server with ClusterControl, launch ClusterControl and provide your credentials on the login page shown below.
To deploy a database, click on Create a service, and it takes you to the Service Launch Wizard for the following options.
-
Create a database cluster: This option lets you choose a database technology, configure and create a database service on a fresh host.
-
Import a database cluster: This option lets you import an existing database deployment into ClusterControl.
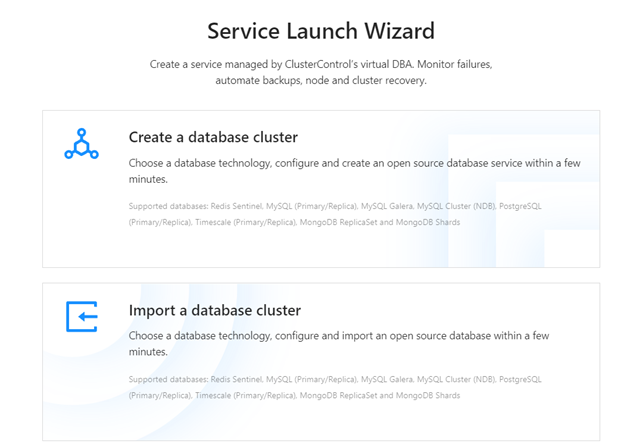
To build a new server, choose the option – Create a database cluster.
In the deploy service, ClusterControl lists the supported database systems.
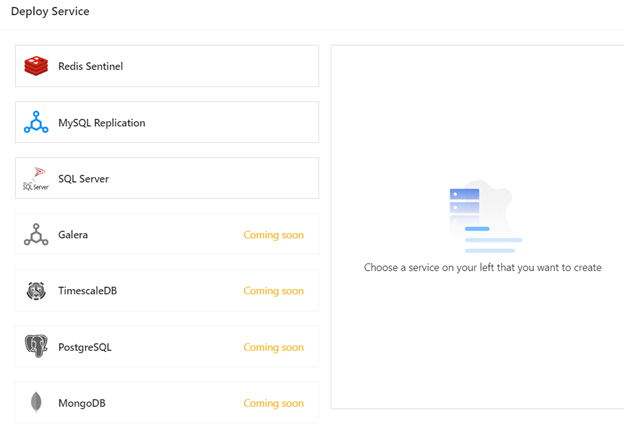
Choose SQL Server on the left, and you will see some of the basics related to SQL Server.
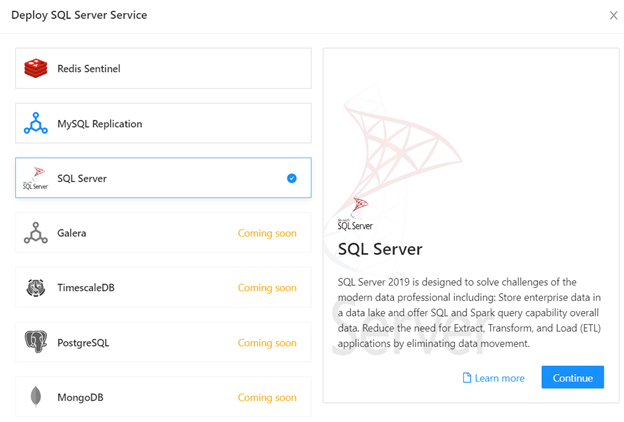
Click on Continue, and ClusterControl will start deploying your cluster. Here’s how it looks like.
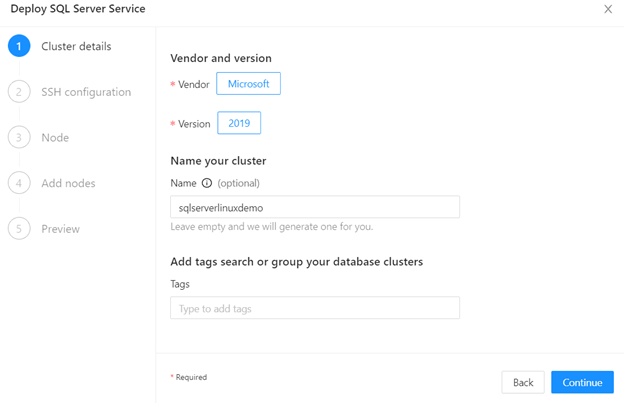
Step 1: Cluster details
The first step allows you to enter cluster name (optional) and tags (optional). If you do not provide any cluster name, the ClusterControl assigns an auto-generated name. It is recommended to provide a familiar name for SQL Server Linux instances to connect to the instance using the friendly name.
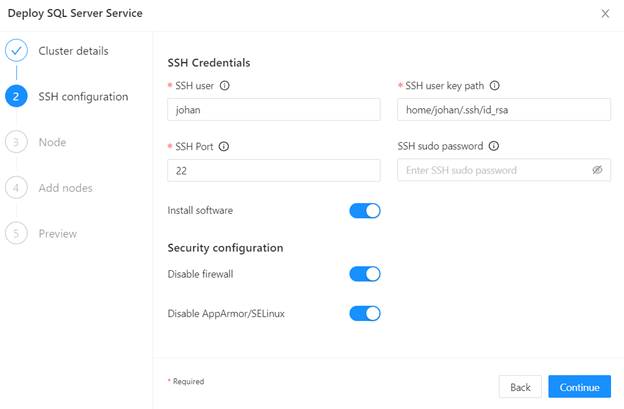
Step 2: SSH Configuration
Enter the SSH user and SSH user key path in the second step. You can choose from a couple of options – you can either install the software, disable the firewall, or disable AppArmor. It is recommended to use the default configuration.
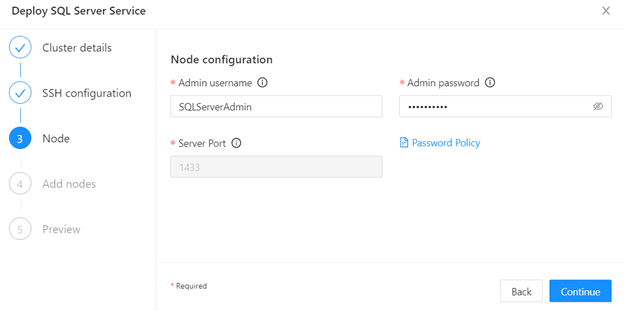
Step 3: Node Configuration
By default, ClusterControl creates a user called “SQLServerAdmin” that performs administrative tasks. It auto-generates the password for the user as well. However, you can enter your password to remember it.
If you want to enter the custom password, check the password policy from the link given. See image below:
Step 4: Add Nodes
In the add nodes step, enter the IP address of the virtual machine in which you want to install SQL Server on Linux.
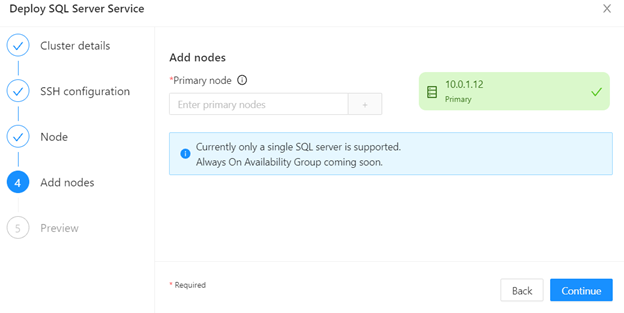
Note: Currently, ClusterControl supports a single SQL Server on Linux. Therefore, you need to add a single VM IP address in the add nodes section.
Step 5: Preview
The step gives a preview of your configurations before installing SQL Server on Linux, allowing you to go back and make changes if required.
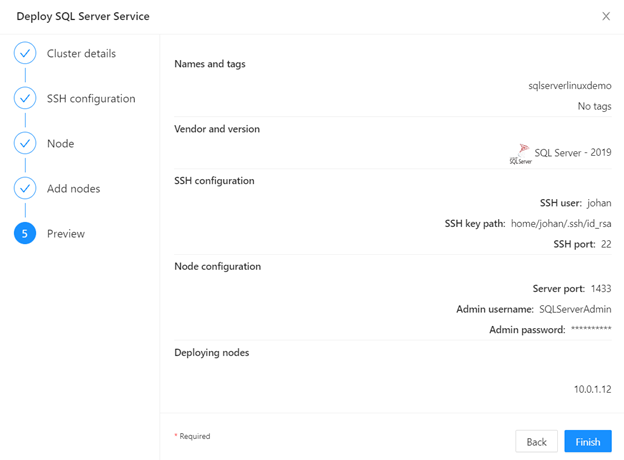
Click on Finish, and ClusterControl will start a deployment job.

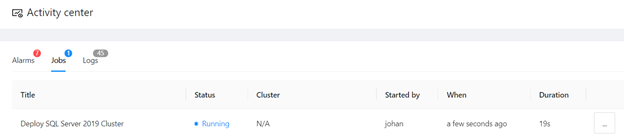
Click on Go to activity list, and you see a task title – Deploy SQL Server 2019 cluster in the running state.
To check the installation progress, click on the three dots icon and click Logs. In the logs, we can notice the following things:
-
ClusterControl uses the directory /var/opt/mssql/data as its data directory.
-
The system memory is 32GB.
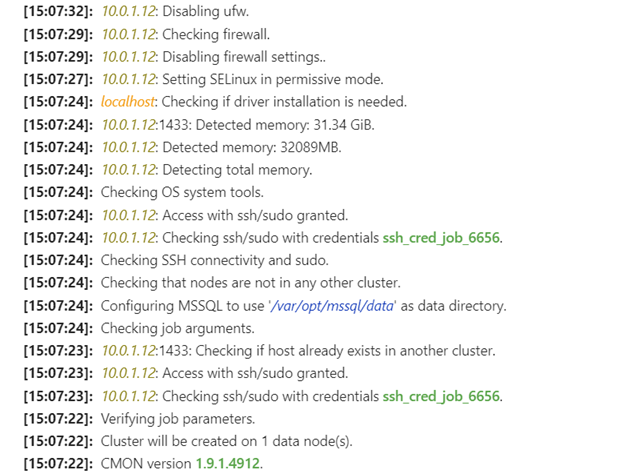
-
ClusterControl starts the installation of the mssql-server service on the specified node.
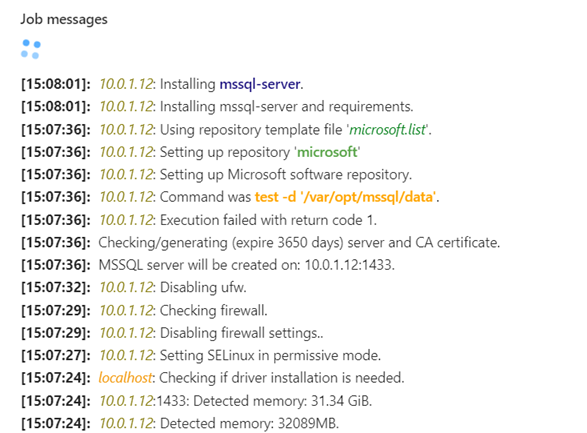
-
ClusterControl configures a SQL Server Agent.
-
It creates a SQL Server admin user “SQLServerAdmin.”
-
If you provided any special character such as @ in the password, it is replaced by %.
-
ClusterControl configures the error log location to /var/log/mssql/errorlog.
-
It sets the maximum SQL Server memory to 80% of the server memory.
Once the installation is completed successfully, you will see a green tick, as shown below.

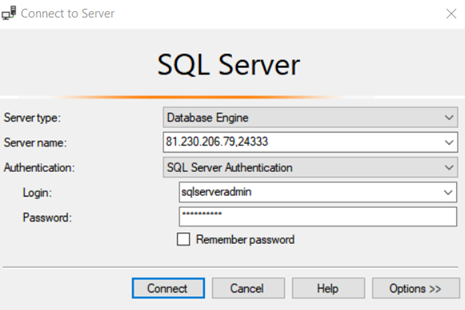
We can use SQL Server Management Studio (remotely), Azure Data Studio, or SQLCMD tool to connect to SQL Server. The following screenshot shows the SSMS connection window with the public IP address and its port number.
For the authentication, choose the SQL Server Authentication, and specify the SQL credentials.
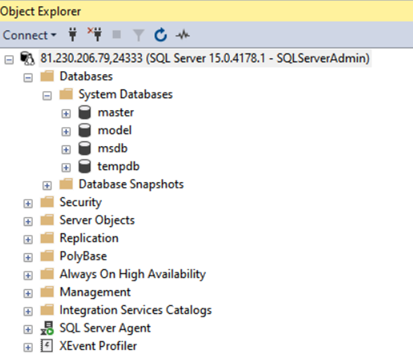
It connects to the SQL instance with SQL authentication. By default, SQL Server has databases called master, model, MSDB, and TempDB.
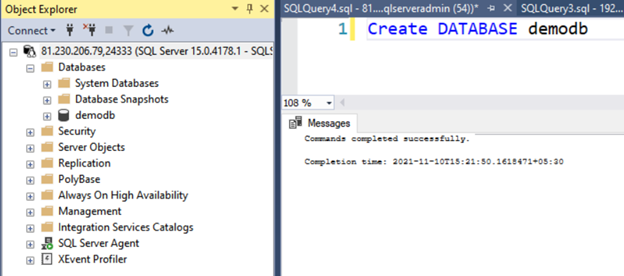
You can create new databases using the CREATE DATABASE statement. For example, In the below screenshot, we create a [demodb] user database.
The ClusterControl dashboard shows the deployed SQL Server on Linux status along with the health of its components. For example, the cluster sqlserverlinuxdemo is operational, nodes are active, and the auto-recovery for cluster and nodes are healthy.


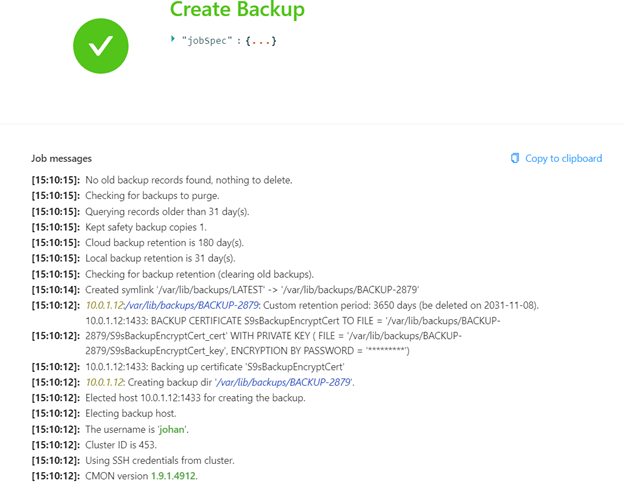
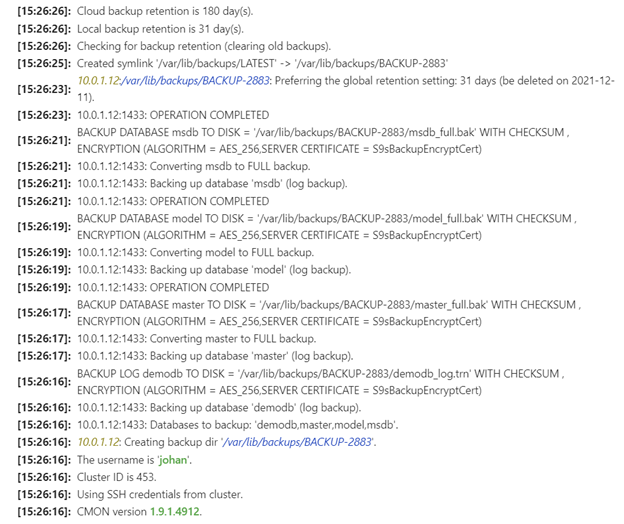
Once ClusterControl deploys a SQL Server on a Linux instance, it creates a master key, certificates and takes the certificate backup as well. As you can see the BACKUP CERTIFICATE statement takes backup for the [s9sBackupEncryptCert] certificate in the following screenshot.
Creating SQL Server Linux backups with Backup on Demand
ClusterControl allows you to create database backups including Full, Differential, and Log backups for all databases in the SQL instance. The system databases are critical for SQL instances, and they are small in size. Therefore, if you take differential and log backup for your system databases, ClusterControl upgrades the backup type as FULL. We will see this in action later in this article.
Click on the Backup tab in ClusterControl, you will see a part of the tool called Create a backup. It allows you to create the backup on-demand or schedule a backup should you so desire.
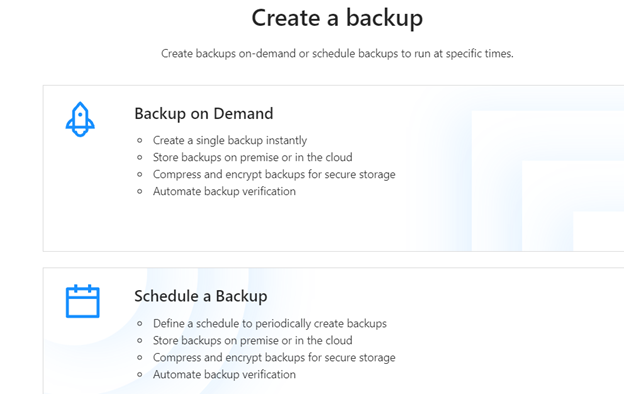
The create a backup wizard has a couple of steps, all of which are outlined below.
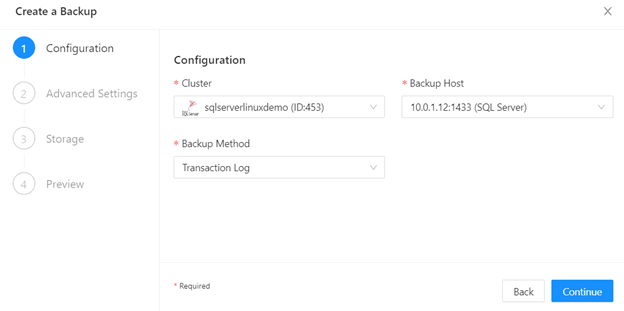
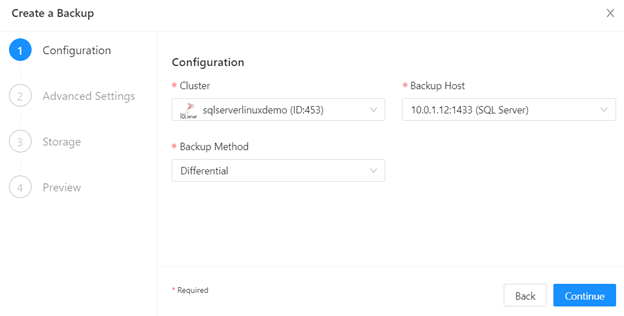
Step 1: Configuration
On the configuration page, select the cluster for which you want to take the database backup. You are also required to select the backup type (your backups can either be full, differential, or you can also take the backups of the log files.)
By default, ClusterControl will take a full backup for all databases.
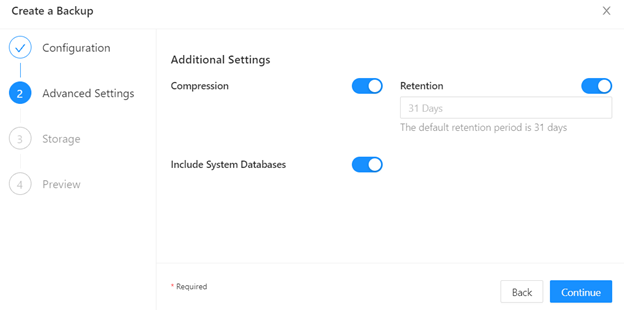
Step 2: Additional Settings
The Additional Settings page allows the following configurations.
-
Compression: By default, the ClusterControl takes a compressed backup for all databases in SQL Server on Linux. If you require an uncompressed backup, disable the compression using the toggle switch.
-
Include system databases: If required, you can avoid taking system database backups.
-
Retention: The default backup retention is 31 days. You can specify a different retention period if required.
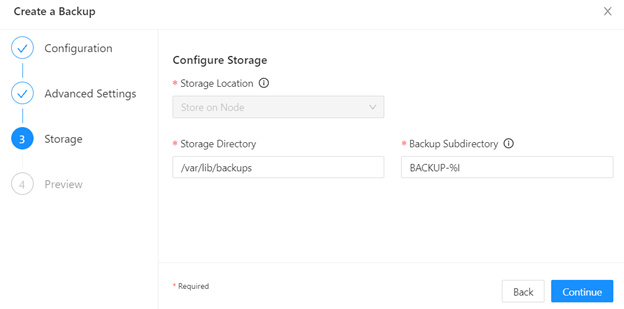
Step 3: Storage
The storage configuration includes the configuration storage directory and backup subdirectory. These values are auto-filled. Therefore, you can skip the storage configuration for the database backup.
Step 4: Preview
On the preview page, review your backup configurations and click on the Finish button to start creating your database backups.
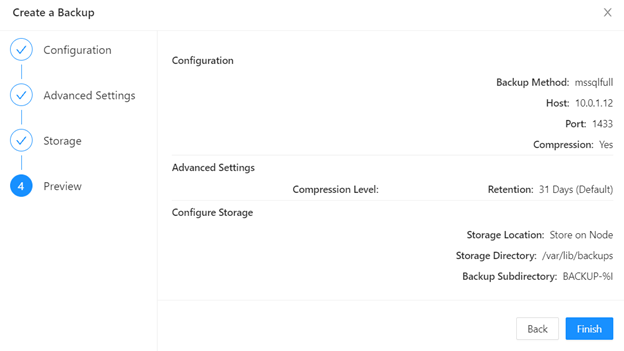
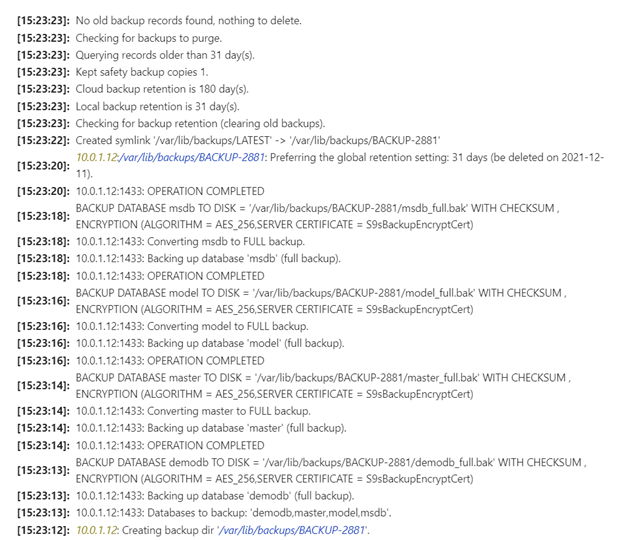
Click on Finish, and you will see that ClusterControl will take a full backup for Master, Model, MSDB, and DemoDB databases as those are available in our instance. Do note that SQL Server does not support database backups for TempDB.
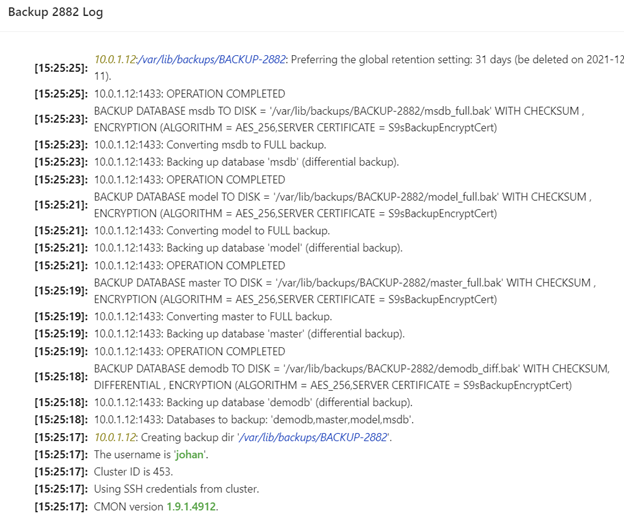
Similarly, you can launch a backup wizard for differential and transaction log backups, see below:
As shown below, ClusterControl upgrades differential and Transaction Log backups for the system databases to the backup type FULL.
Restoring SQL Server backups with ClusterControl
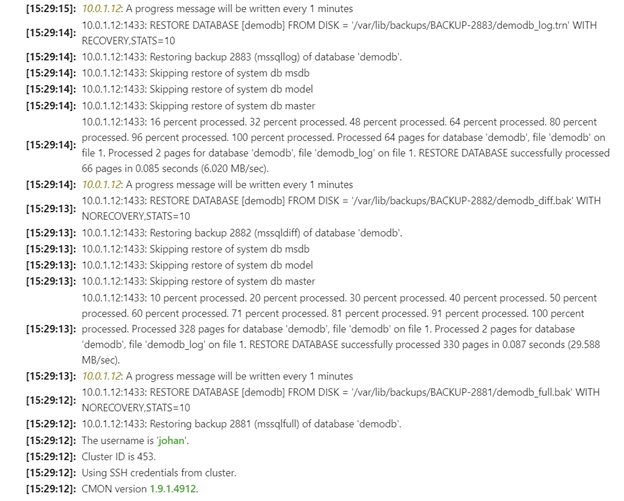
ClusterControl also allows you to restore database backups. It automatically selects the required backups for restore; for example, if you take full, differential, and transaction log backups for a user database and you try to restore the log backup, it automatically restores full, differential, and log backups in sequence to restore the database with valid backup sets.
For example, let’s drop the user database [demodb] using the T-SQL statement below
DROP DATABASE DEMODB;
Now, to restore the backup, select the log backup in ClusterControl and click on Restore.

You can view the restore progress for the full, differential, and log backups in the logs.
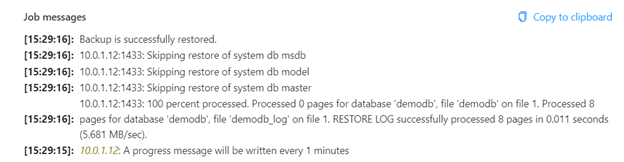
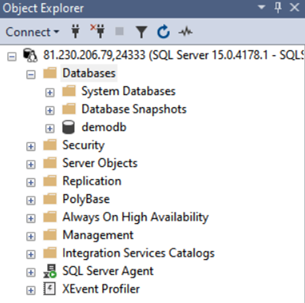
Once the restore process is finished, refresh the object explorer in SSMS, and you will see that the database is in an online state.

Wrapping up
Now you should know how to install SQL Server on Linux using the ClusterControl GUI, as well as know how you should go about creating and restoring backups. We will continue developing SQL Server and adding new features, such as Always On HA groups, to make it more resilient and ready for production-grade environments, so stay tuned.
In the meantime, make sure you download ClusterControl if you haven’t already and subscribe to the Severalnines RSS feed or follow us on Twitter and LinkedIn to stay up-to-date with SQL Server and other releases. See you soon!