blog
Database Load Balancing on Google Cloud Platform (GCP) Using HAProxy

Using a Load Balancer is a good idea for any database technology, as you can redirect applications to the available or healthy database nodes and even distribute the traffic across multiple servers to improve performance. This is not only useful on-prem but also in a cloud environment. In this blog, we’ll see how to deploy and configure a new database cluster with HAProxy on the Google Cloud Platform from scratch.
Creating the VM on Google Cloud
For this example, we’ll assume that you have a Google Cloud account created.
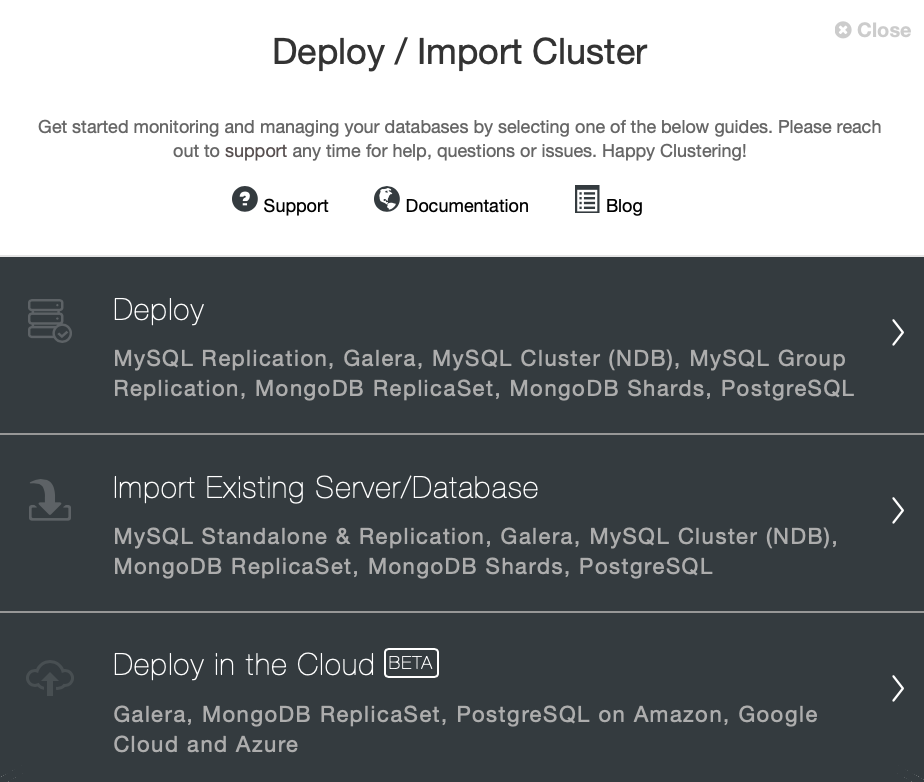
You can deploy your virtual machines directly from ClusterControl. Go to the deploy section and select “Deploy in the Cloud”.
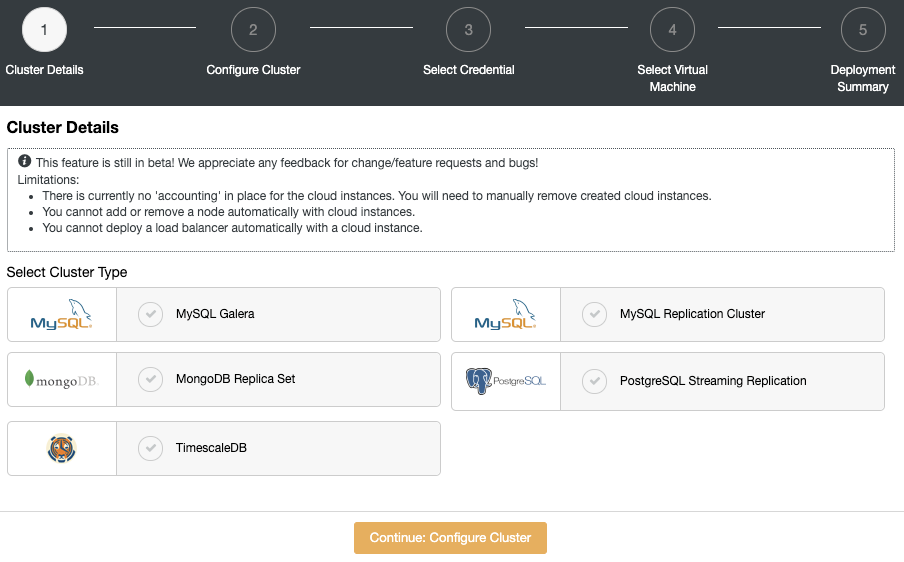
Specify vendor and version for your new cluster.
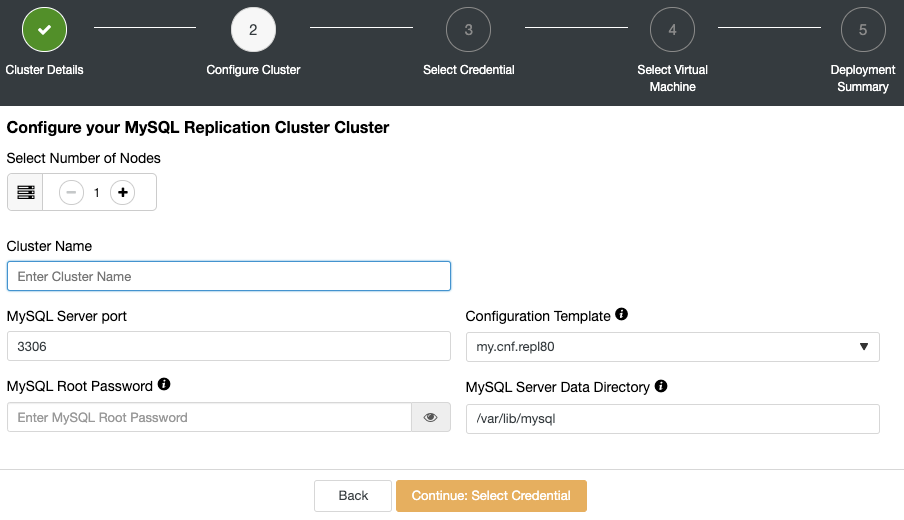
Add the number of nodes, cluster name, and database information.
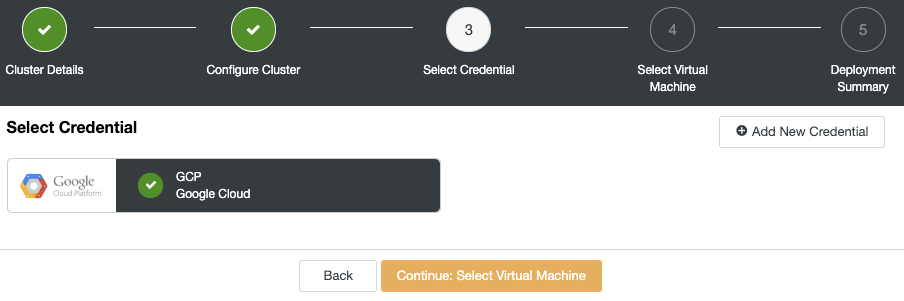
Choose the cloud credentials, in this case, your Google Cloud account. If you don’t have your account added in ClusterControl, you can follow our documentation for this task.
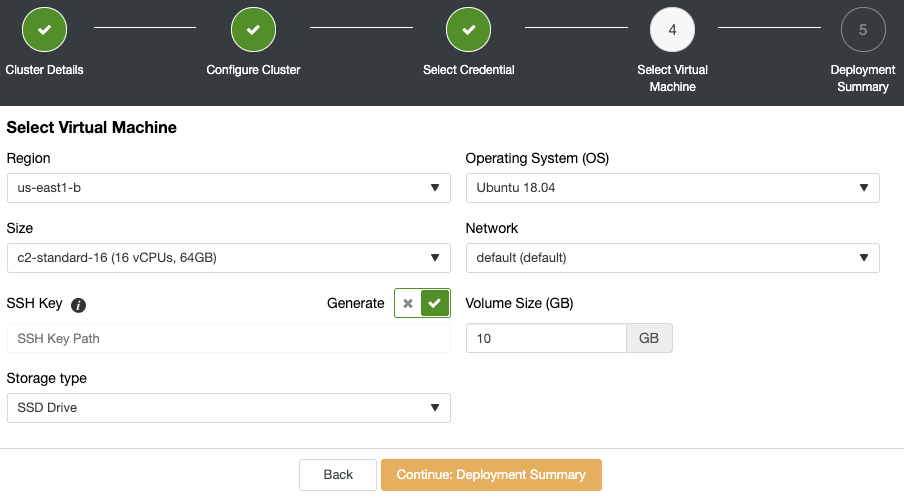
Now you can specify the virtual machine configuration, like operating system, size, and region.
ClusterControl will create the virtual machines, install the software, and configure it, all in the same job and in an unattended way.
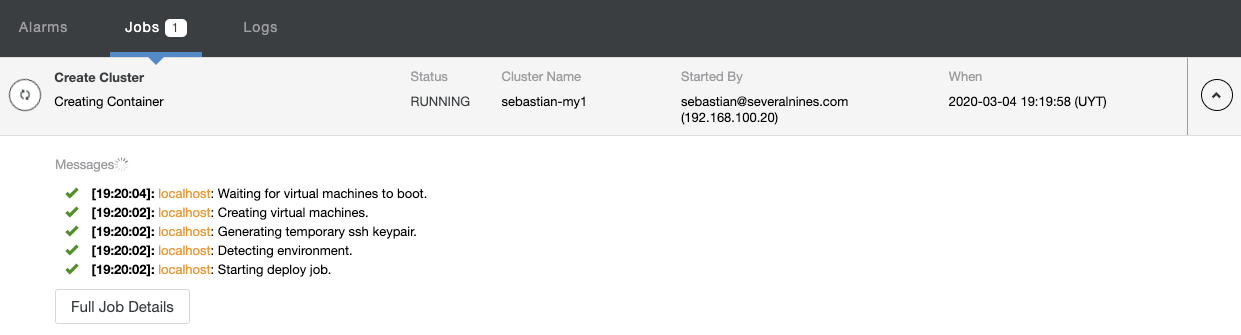
You can monitor the creation process in the ClusterControl activity section. When it finishes, you will see your new cluster in the ClusterControl main screen.

Deploying HAProxy in Google Cloud
Note: To deploy it, first, you need to create the VM in the Google Cloud Platform as the virtual machine creation is not implemented for the ClusterControl load balancer deployment yet (it will be available soon).
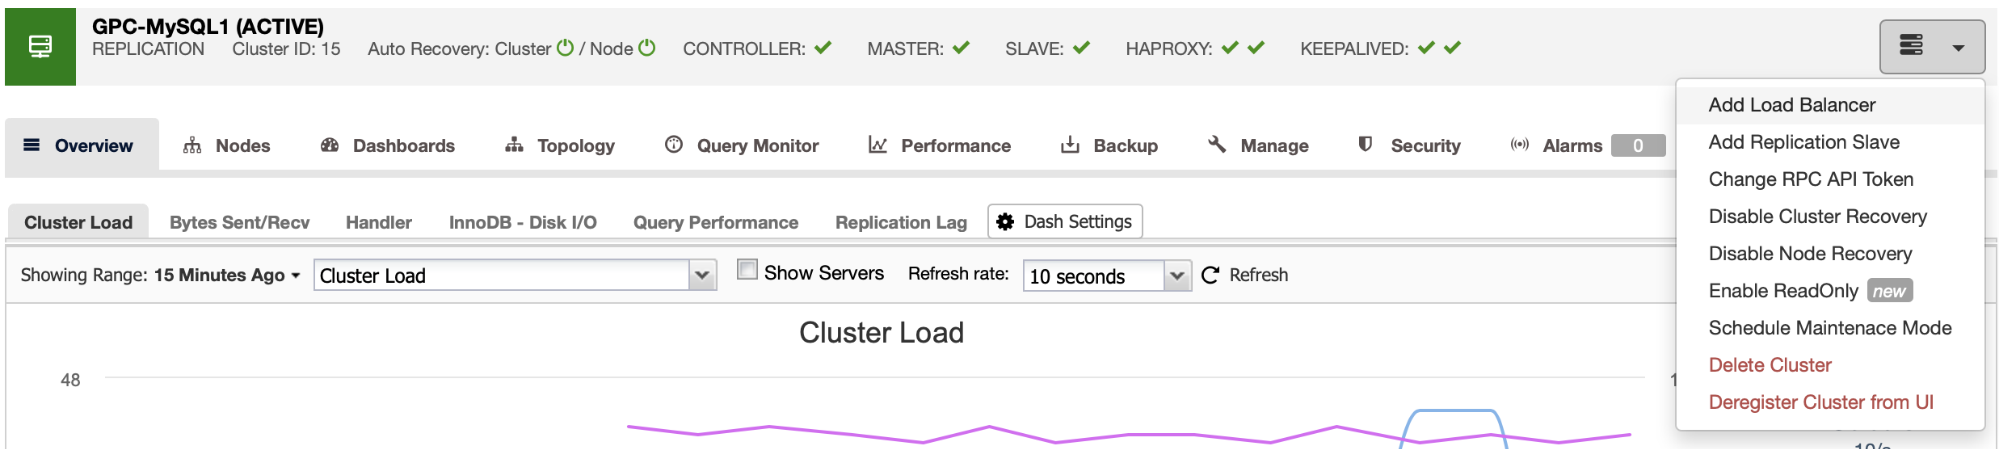
Now you have your new cluster up and running, go to ClusterControl -> Select Cluster -> Cluster Actions -> Add Load Balancer.
Here you must add the information that ClusterControl will use to install and configure your HAProxy load balancer.
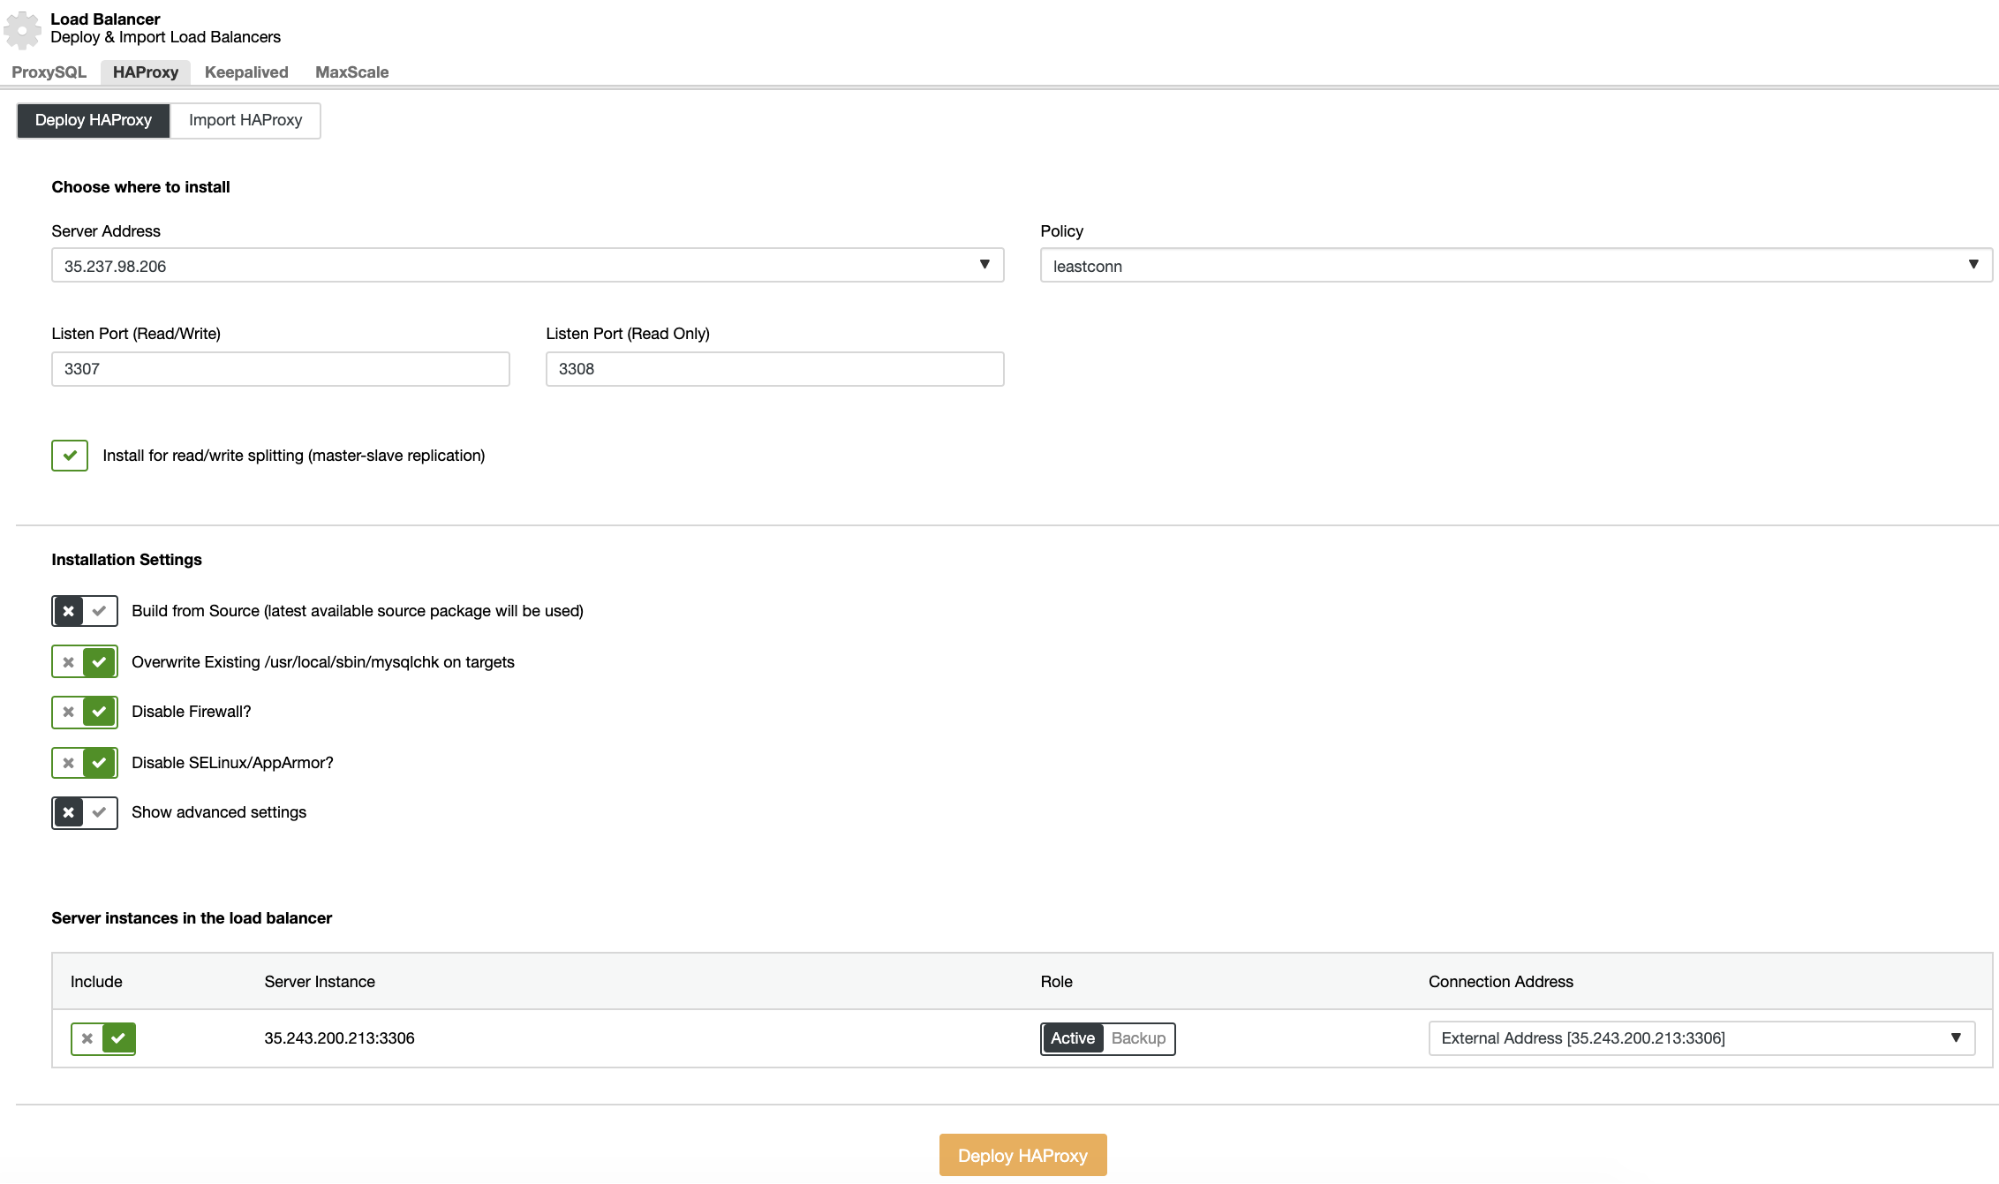
The information that you need to introduce is:
Action: Deploy or Import.
Server Address: IP Address for your HAProxy server.
Listen Port (Read/Write): Port for read/write mode.
Listen Port (Read-Only): Port for read-only mode.
Policy: It can be:
- leastconn: The server with the lowest number of connections receives the connection.
- roundrobin: Each server is used in turns, according to their weights.
- source: The source IP address is hashed and divided by the total weight of the running servers to designate which server will receive the request.
Install for read/write splitting: For master-slave replication.
Build from Source: You can choose Install from a package manager or build from source.
And you need to select which servers you want to add to the HAProxy configuration and some additional information like:
Role: It can be Active or Backup.
Include: Yes or No.
Connection address information.
Also, you can configure Advanced Settings like Admin User, Backend Name, Timeouts, and more.
When you finish the configuration and confirm the deployment, you can follow the progress in the Activity section on the ClusterControl UI.

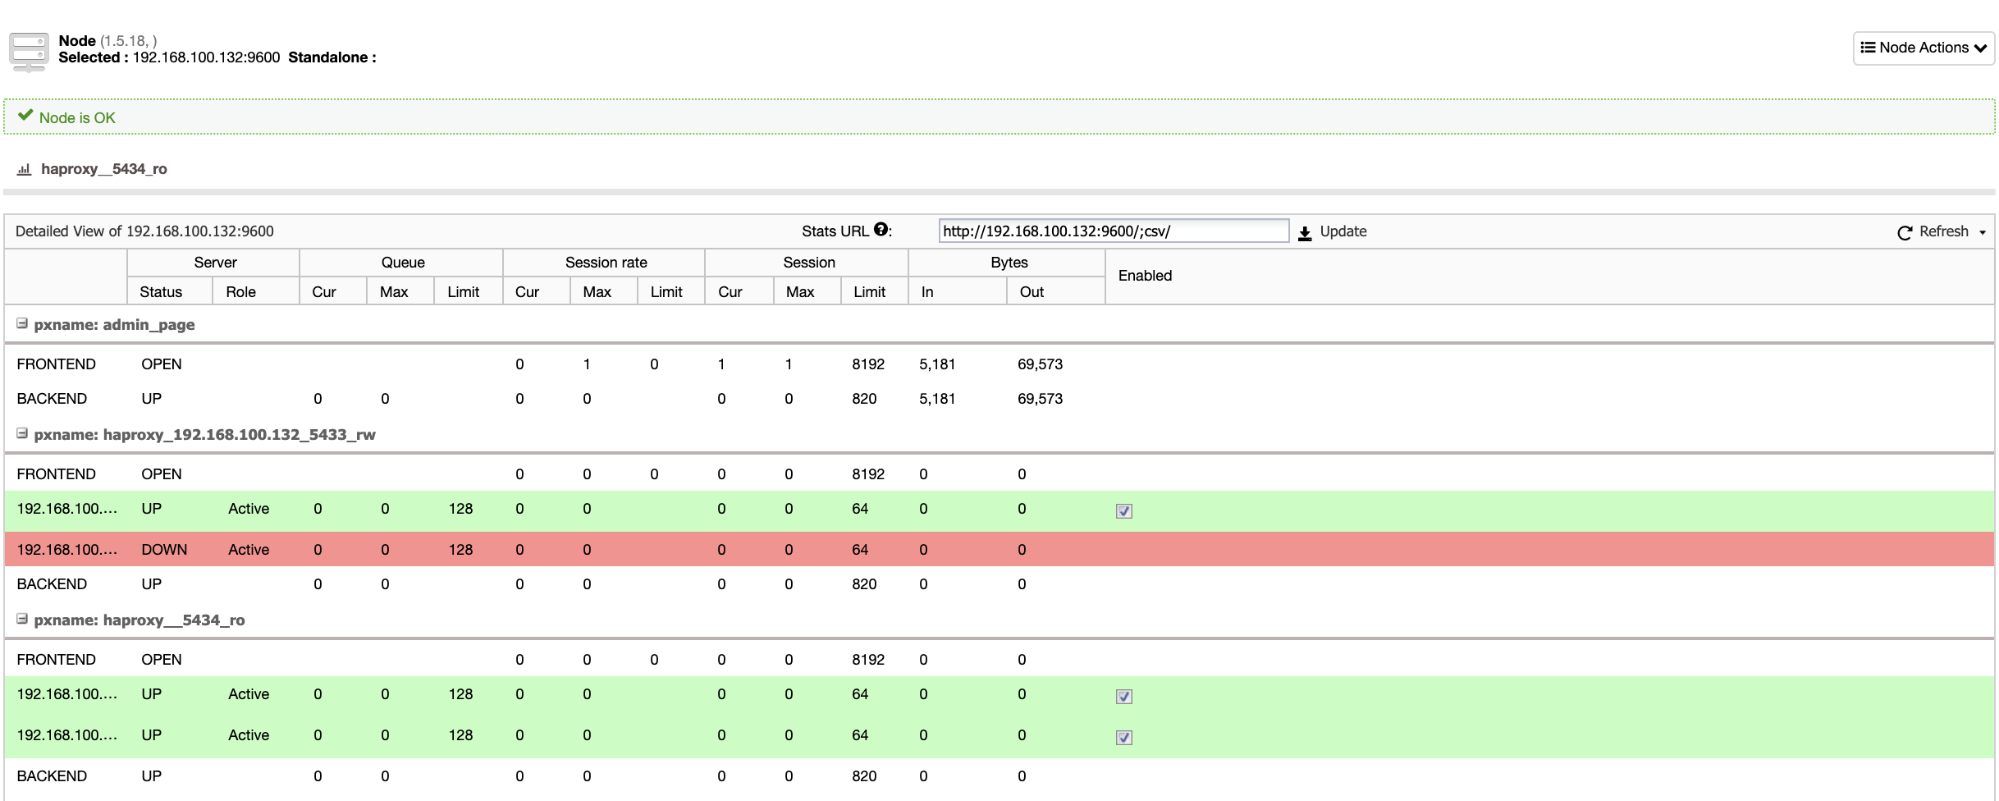
And when this finishes, you can go to ClusterControl -> Nodes -> HAProxy node, and check the current status.
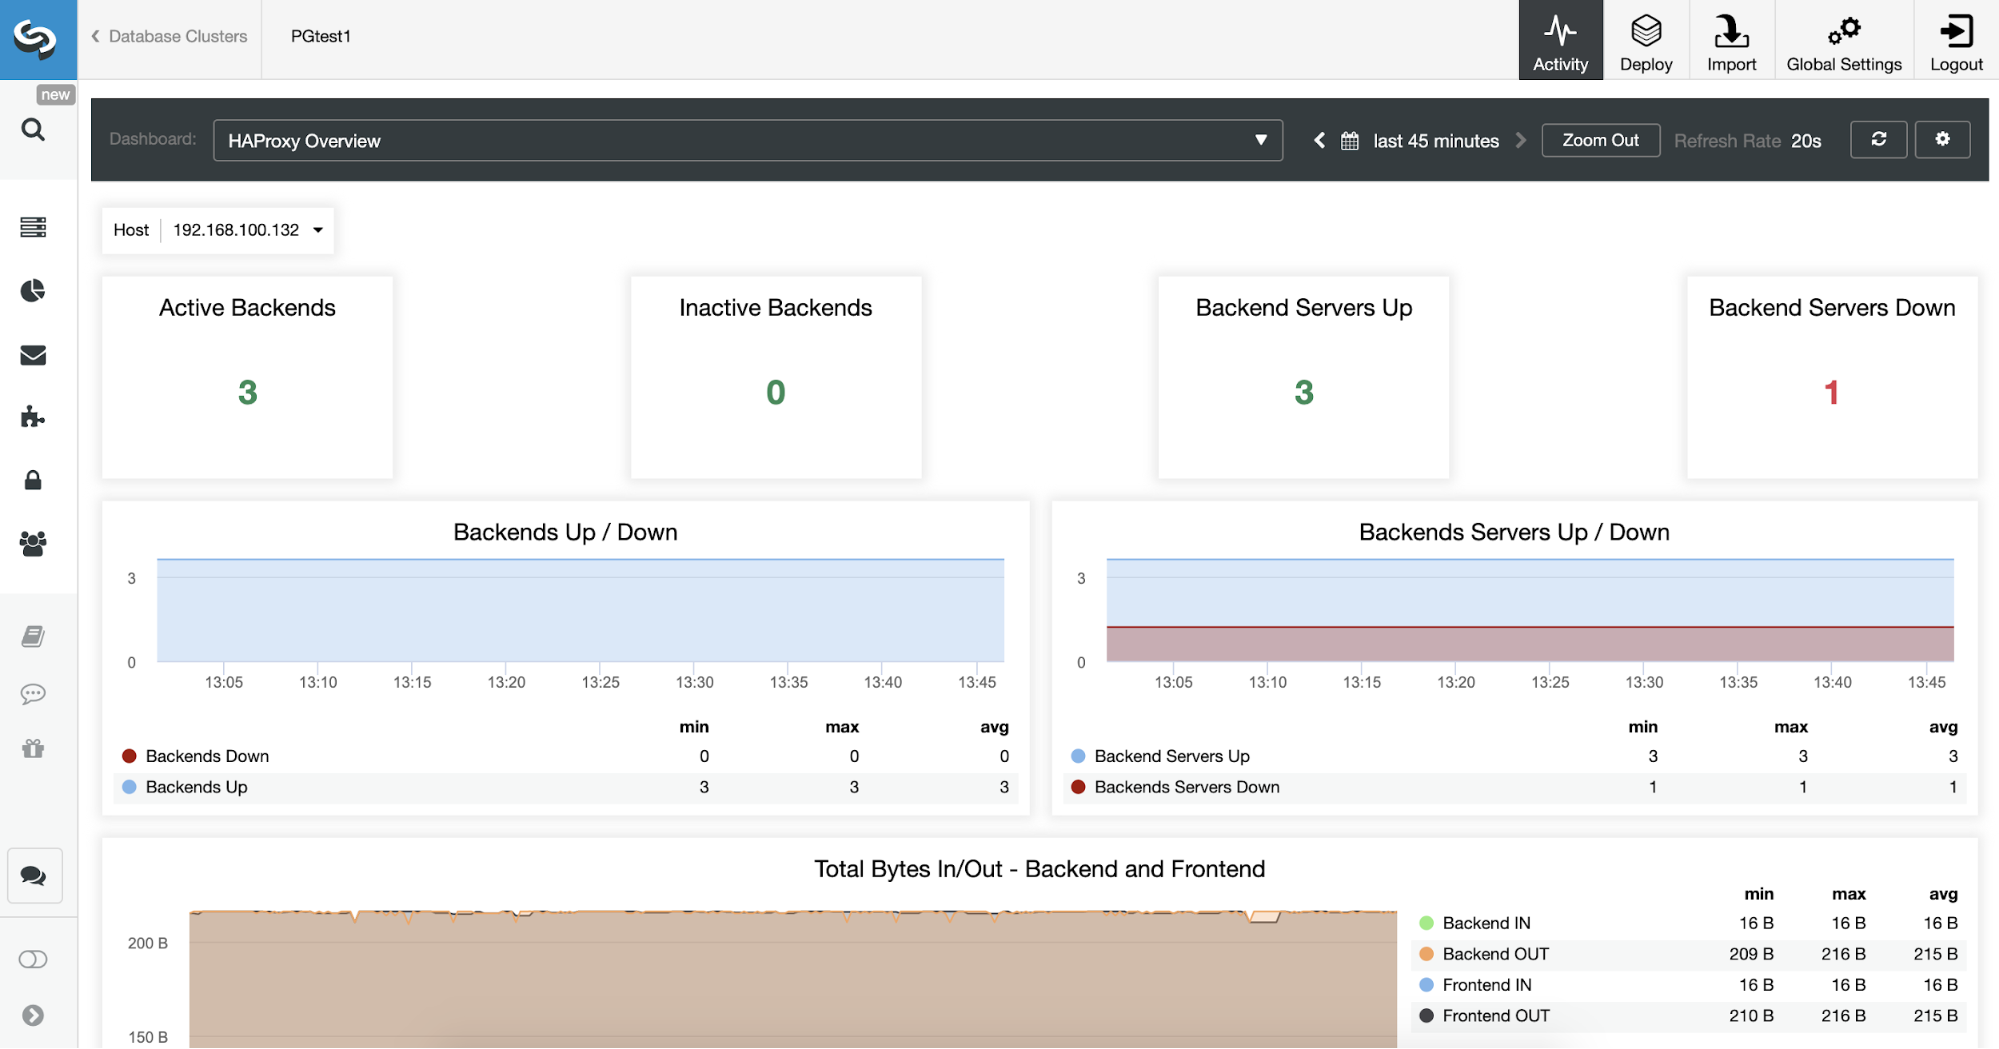
You can also monitor your HAProxy servers from ClusterControl checking the Dashboard section.
Conclusion
A Load Balancer can help you to handle your database traffic by balancing it between multiple servers. It is also useful to improve your high availability environment by performing failover tasks. ClusterControl can help you too with different features like auto-recovery, monitoring, deployment, and even more, and it can manage on-prem, cloud or mixed environments with different database technologies at the same time.


