blog
SSL Key Management and Encryption of MySQL Data in Transit

Databases usually work in a secure environment. It may be a datacenter with a dedicated VLAN for database traffic. It may be a VPC in EC2. If your network spreads across multiple datacenters in different regions, you’d usually use some kind of Virtual Private Network or SSH tunneling to connect these locations in a secure manner. With data privacy and security being hot topics these days, you might feel better with an additional layer of security.
MySQL supports SSL as a means to encrypt traffic both between MySQL servers (replication) and between MySQL servers and clients. If you use Galera cluster, similar features are available – both intra-cluster communication and connections with clients can be encrypted using SSL.
A common way of implementing SSL encryption is to use self-signed certificates. Most of the time, it is not necessary to purchase an SSL certificate issued by the Certificate Authority. Anybody who’s been through the process of generating a self-signed certificate will probably agree that it is not the most straightforward process – most of the time, you end up searching through the internet to find howto’s and instructions on how to do this. This is especially true if you are a DBA and only go through this process every few months or even years. This is why we added a ClusterControl feature to help you manage SSL keys across your database cluster. In this blog post, we’ll be making use of ClusterControl 1.5.1.
Key Management in the ClusterControl
You can enter Key Management by going to Side Menu -> Key Management section.
You will be presented with the following screen:
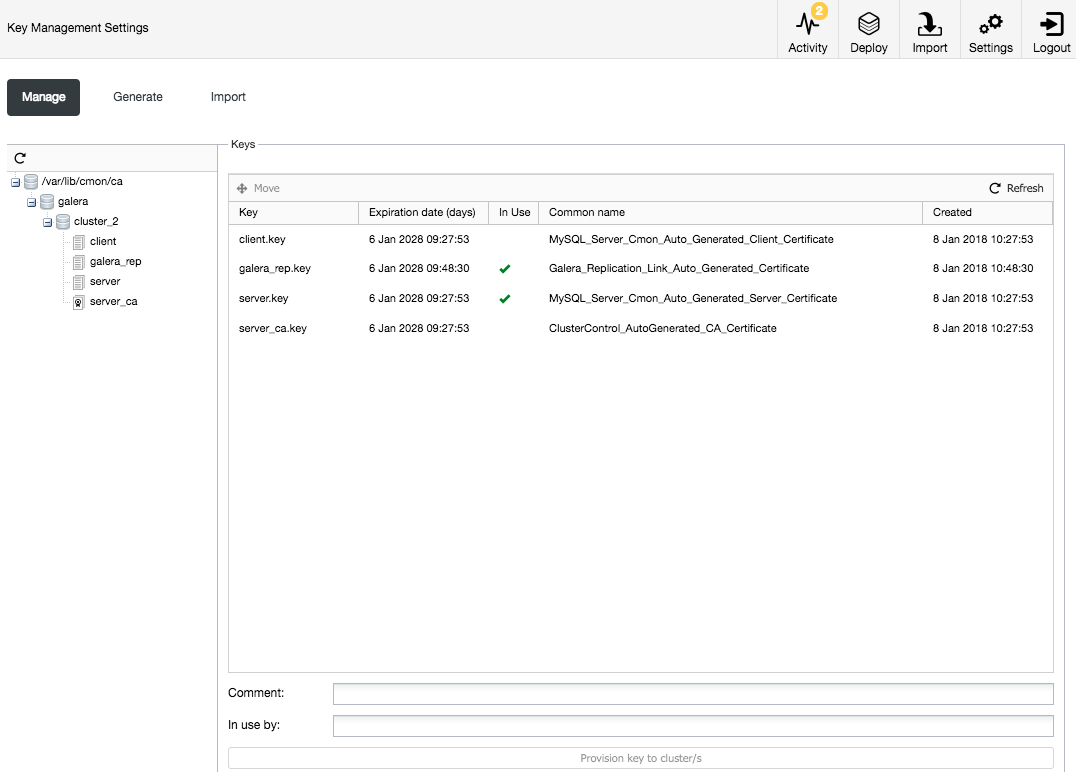
You can see two certificates generated, one being a CA and the other one a regular certificate. To generate more certificates, switch to the ‘Generate Key’ tab:
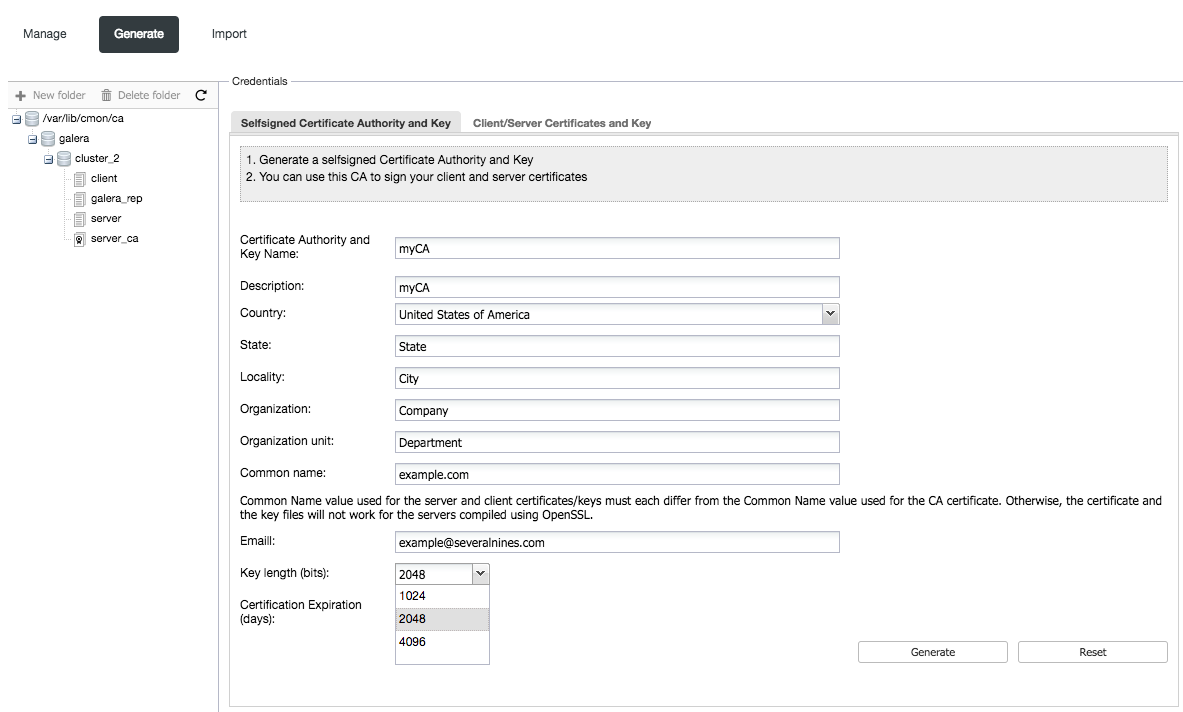
A certificate can be generated in two ways – you can first create a self-signed CA and then use it to sign a certificate. Or you can go directly to the ‘Client/Server Certificates and Key’ tab and create a certificate. The required CA will be created for you in the background. Last but not least, you can import an existing certificate (for example a certificate you bought from one of many companies which sell SSL certificates).
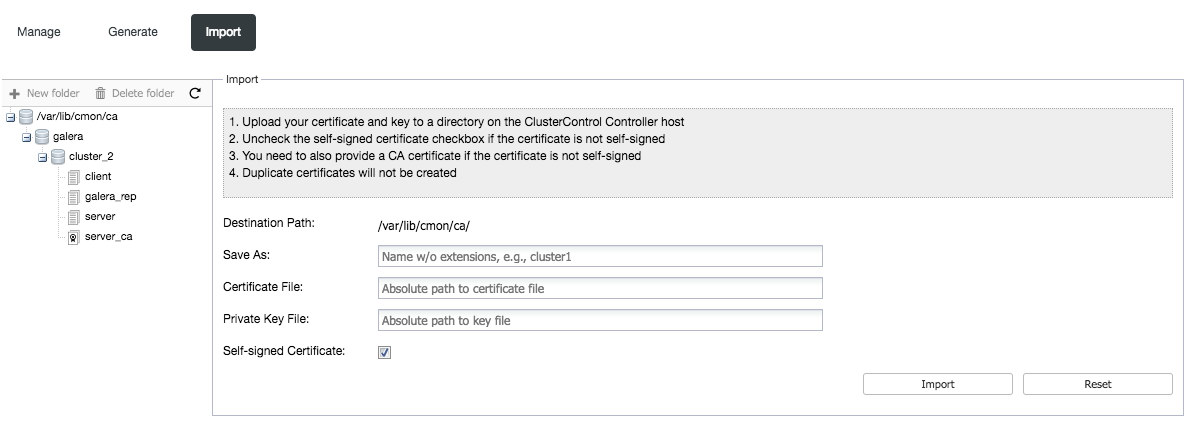
To do that, you should upload your certificate, key and CA to your ClusterControl node and store them in /var/lib/cmon/ca directory. Then you fill in the paths to those files and the certificate will be imported.
If you decided to generate a CA or generate a new certificate, there’s another form to fill – you need to pass details about your organization, common name, email, pick the key length and expiration date.
Once you have everything in place, you can start using your new certificates. ClusterControl currently supports deployment of SSL encryption between clients and MySQL databases and SSL encryption of intra-cluster traffic in Galera Cluster. We plan to extend the variety of supported deployments in future releases of the ClusterControl.
Full SSL encryption for Galera Cluster
Now let’s assume we have our SSL keys ready and we have a Galera Cluster, which needs SSL encryption, deployed through our ClusterControl instance. We can easily secure it in two steps.
First – encrypt Galera traffic using SSL. From your cluster view, one of the cluster actions is ‘Enable SSL Galera Encryption‘. You’ll be presented with the following options:
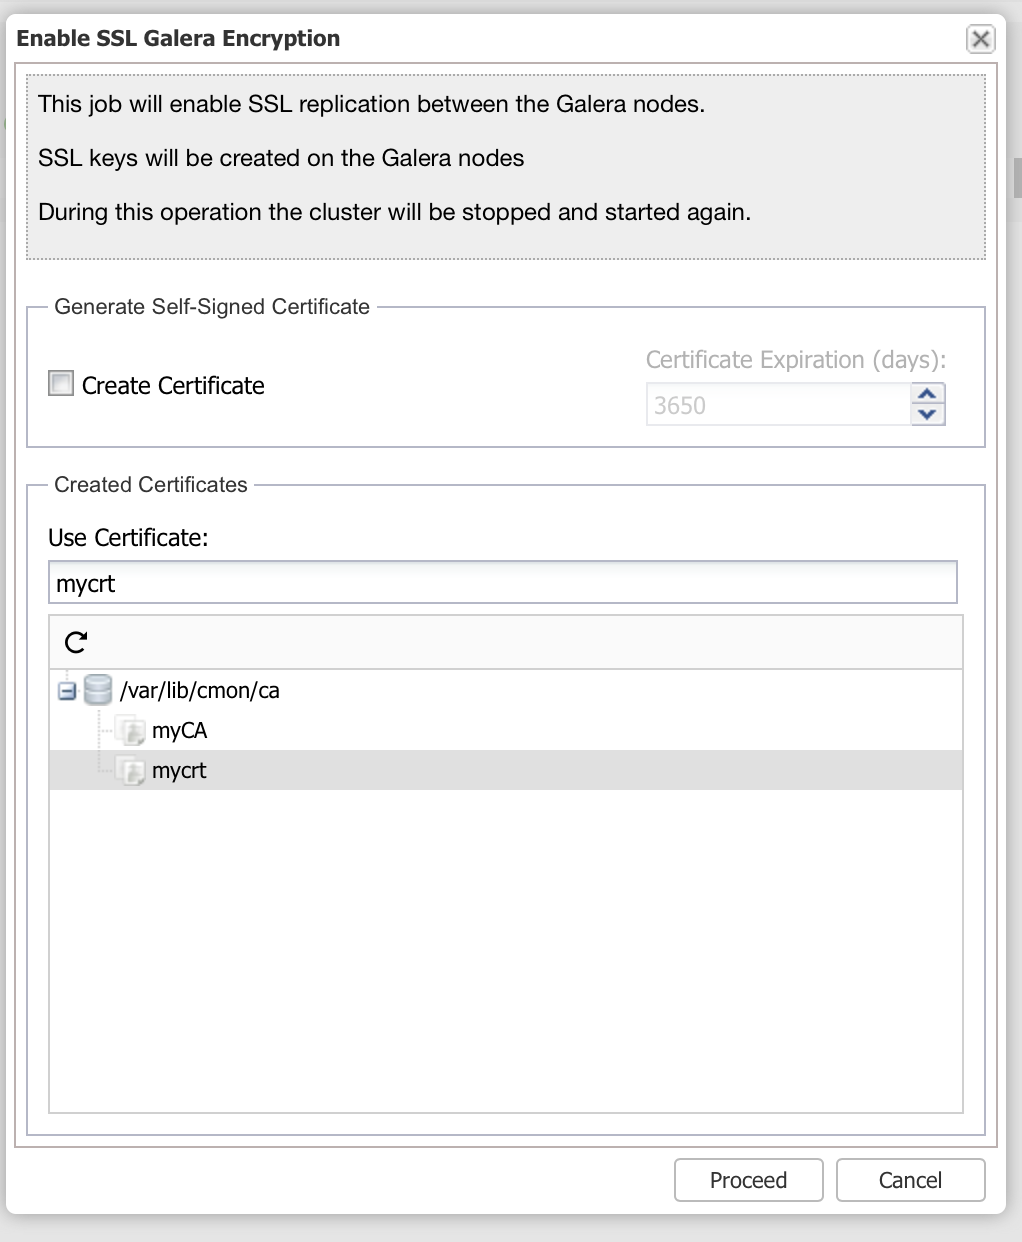
If you do not have a certificate, you can generate it here. But if you already generated or imported an SSL certificate, you should be able to see it in the list and use it to encrypt Galera replication traffic. Please keep in mind that this operation requires a cluster restart – all nodes will have to stop at the same time, apply config changes and then restart. Before you proceed here, make sure you are prepared for some downtime while the cluster restarts.
Once intra-cluster traffic has been secured, we want to cover client-server connections. To do that, pick ‘Enable SSL Encryption’ job and you’ll see following dialog:
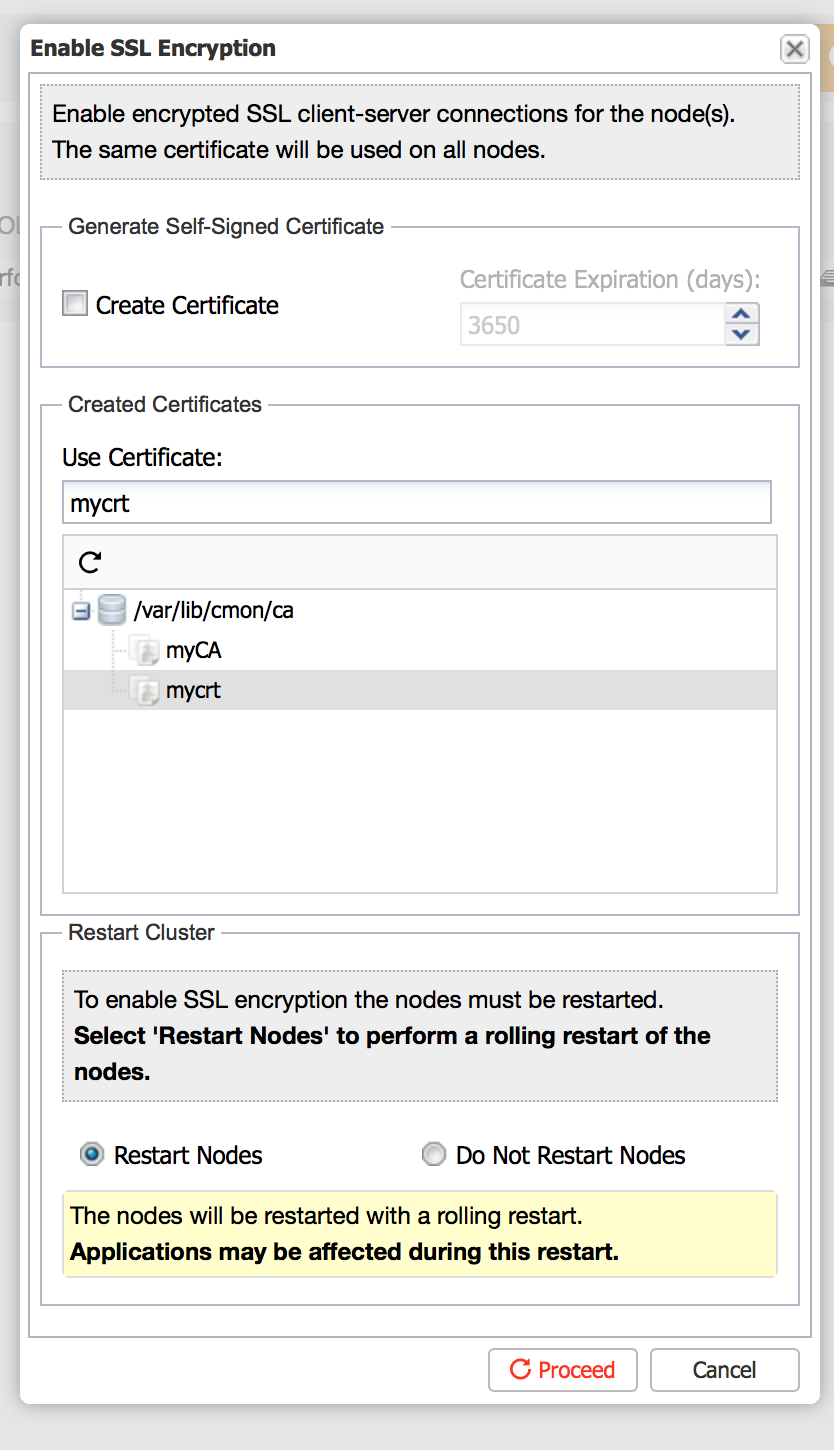
It’s pretty similar – you can either pick an existing certificate or generate new one. The main difference is that to apply client-server encryption, downtime is not required – a rolling restart will suffice. Once restarted, you will find a lock icon right under the encrypted host on the Overview page:
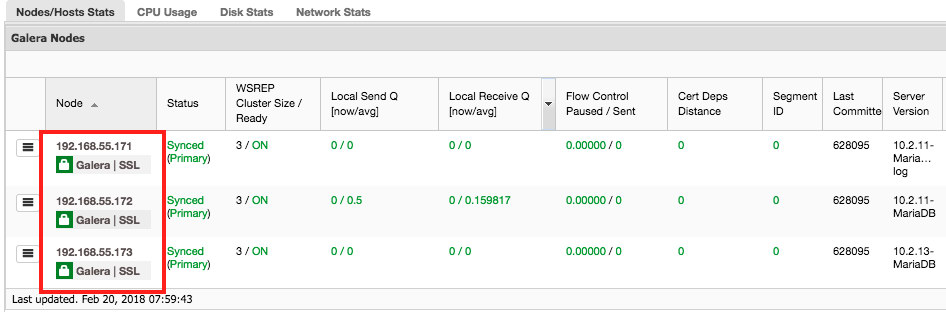
The label ‘Galera‘ means Galera encryption is enabled, while ‘SSL‘ means client-server encryption is enabled for that particular host.
Of course, enabling SSL on the database is not enough – you have to copy certificates to clients which are supposed to use SSL to connect to the database. All certificates can be found in /var/lib/cmon/ca directory on the ClusterControl node. You also have to remember to change grants for users and make sure you’ve added REQUIRE SSL to them if you want to enforce only secure connections.
We hope you’ll find those options easy to use and help you secure your MySQL environment. If you have any questions or suggestions regarding this feature, we’d love to hear from you.


