blog
Configuring Mutual SSL Authentication in ClusterControl

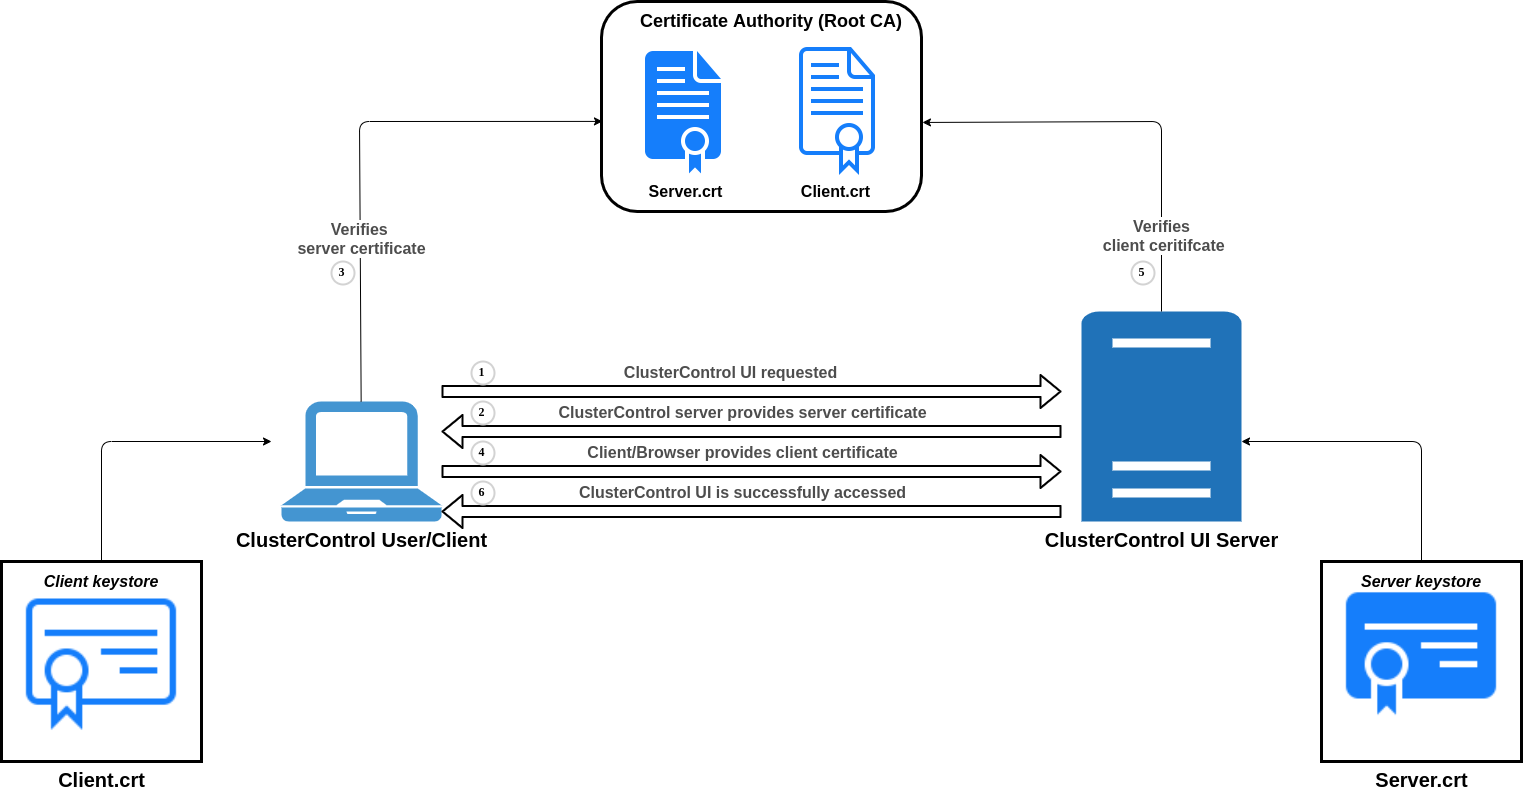
Establishing trusted communications between systems is essential in enhancing system’s security. The use of Public Key Infrastructure (PKI) is one of the common ways to achieve trusted communication in distributed systems. In particular, Mutual SSL Authentication can be used to enhance the security of a client/server interaction by verifying a client’s identity. Though, this is not the only way to verify an identity as I mentioned in my previous zero trust blog.
In this blog, we will go through the steps on how to configure Mutual SSL Authentication also known as Two-Way SSL.
Create a Root CA
-
Create a Root CA Key
$ openssl genrsa -out severalnines-internal-rootCA.key 4096 -
Create and Self-Sign the Root Certificate
$ openssl req -x509 -new -nodes -key severalnines-internal-rootCA.key -sha256 -days 1024 -out severalnines-internal-rootCA.crt Note: Please ensure that you use a Root Certificate Authority (CA) that you can trust. The use of self-signed certificate could potentially expose you to man-in-the-middle attacks
Generate ClusterControl’s (Apache2) Certificate
-
Create ClusterControl’s Server Private Key
$ openssl genrsa -out clustercontrol.key 2048-
Create an SSL Configuration to configure Subject Alternative Names (SAN)
The SSL config file should look like the configuration below.
$ cat clustercontrol-ssl.conf
ts  = 4096
distinguished_name = req_distinguished_name
req_extensions     = req_ext
[ req_distinguished_name ]
countryName      = Country Name (2 letter code)
countryName_default         = GB
stateOrProvinceName         = State or Province Name (full name)
stateOrProvinceName_default = England
localityName                = Locality Name (eg, city)
localityName_default        = Brighton
organizationName            = Organization Name (eg, company)
organizationName_default    = Hallmarkdesign
commonName                  = Common Name (e.g. server FQDN or YOUR name)
commonName_max              = 64
commonName_default          = clustercontrol.severalnines.internal
[ req_ext ]
subjectAltName = @alt_names
[alt_names]
DNS.1   = severalnines.internal
DNS.2   = clustercontrol.severalnines.internal
Note: Ensure that you add the Subject Alternatives Names (SAN’s) of above to your DNS or hosts file.
-
Generate a ClusterControl Certificate Signing Request (CSR)
$ openssl req -new -key clustercontrol.key -out clustercontrol.csr -config clustercontrol-ssl.conf-
Sign the ClusterControl Certificate using the Root Certificate Authority (CA)
$ openssl x509 -req -in clustercontrol.csr -CA severalnines-internal-rootCA.crt -CAkey severalnines-internal-rootCA.key -CAcreateserial -out clustercontrol.crt -days 500 -sha256 -extensions req_ext -extfile clustercontrol-ssl.confConfigure Apache2 installed with ClusterControl
-
Configure the Apache2 SSL Configuration File
Open the file on the s9s SSL file on this path /etc/apache2/sites-available/s9s-ssl.conf. Replace the following settings as shown below:
ServerName clustercontrol.severalnines.internal #Define one of the Subject Alternative Names (SAN) as provided in the clustercontrol-ssl.conf file
SSLCertificateFile /path/to/clustercontrol.crt
SSLCertificateKeyFile /path/to/clustercontrol.key
SSLCACertificateFile /path/to/severalnines-internal-rootCA.crt #Define the path to the Root CA Certificate generated in the first step
SSLVerifyClient require #Require browsers/clients to provide a client-cert
SSLVerifyDepth 10
Note: You will need to restart apache after changing the settings above.
Generate a Client Certificate
-
Create an RSA Encrypted Key (myclient-pass.key) with a Password
$ openssl genrsa -aes256 -passout pass:mykey123 -out myclient-pass.key 4096-
Decrypt/Extract the RSA Key for Signing
$ openssl rsa -passin pass:mykey123 -in myclient-pass.key -out myclient.key-
Generate a Client Certificate Signing Request (CSR)
$ openssl req -new -key myclient.key -out myclient.csrIn step 3 above, you will be required to provide the details as shown below:
Country Name (2 letter code) [AU]:SW
State or Province Name (full name) [Some-State]:Sweden
Locality Name (eg, city) []:Stockholm
Organization Name (eg, company) [Internet Widgits Pty Ltd]:Severalnines AB
Organizational Unit Name (eg, section) []:Security
Common Name (e.g. server FQDN or YOUR name) []: myclient.severalnines.internal
Email Address []:[email protected]
Note: Client certificates should only be generated by the user and sent to the security or system administrator who is in charge of administering the RootCA server.
Configure the Browser to Access ClusterControl UI
-
Concatenate the Client Key, Client Certificate and the Root CA Certificate
$ cat myclient.key myclient.crt severalnines-internal-rootCA.crt > myclient.pem-
Create a PKCS12 archive (Pfx) file for the client certificate that can be imported into the browser certificate/key store.
$ openssl pkcs12 -export -out myclient.pfx -inkey myclient.key -in myclient.pem -certfile severalnines-internal-rootCA.crt -
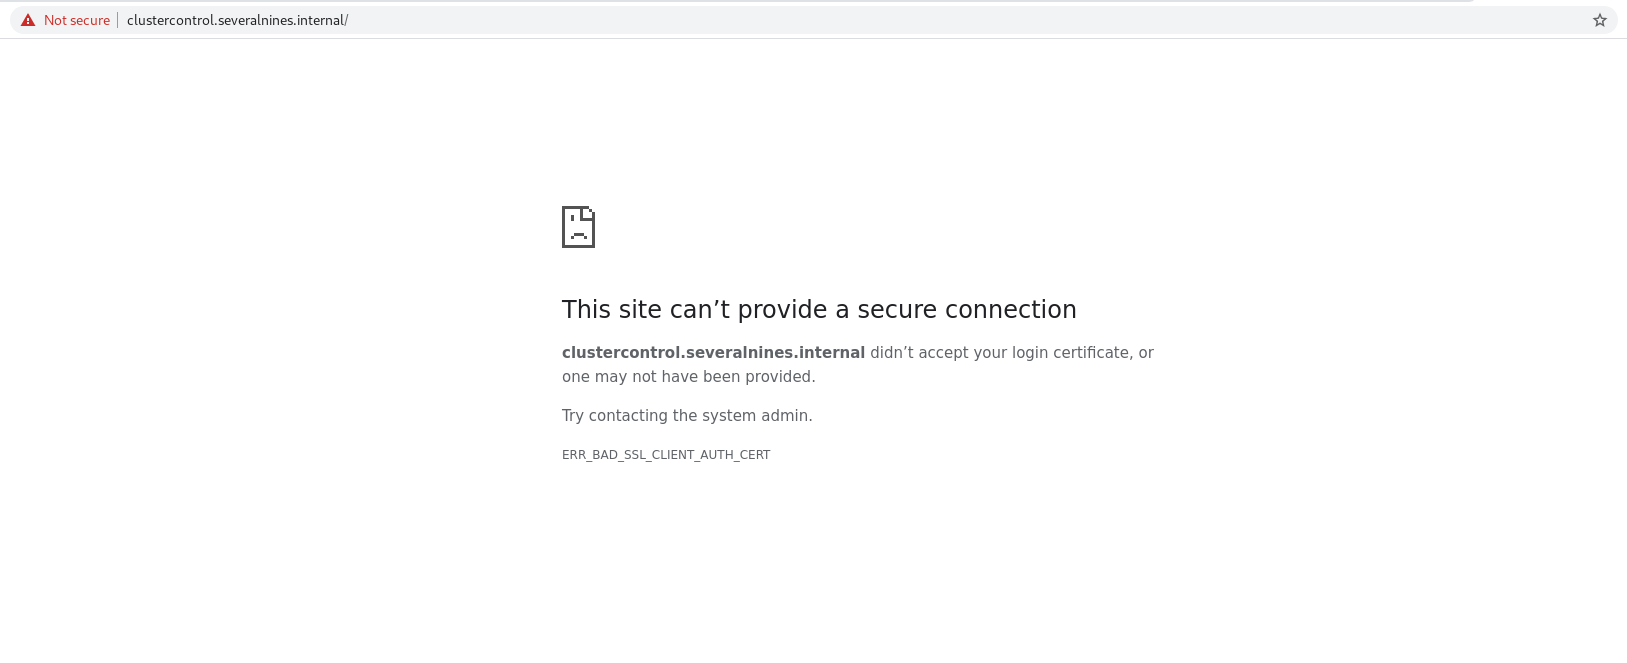
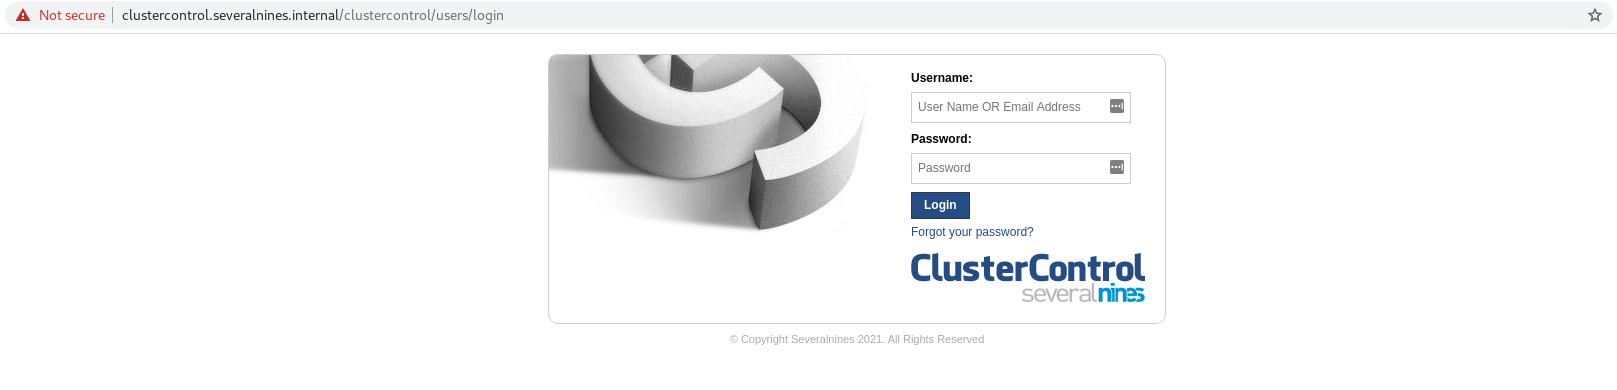
Test access to ClusterControl UI
Before installing the client certificate on the browser, you should see a response as shown below. The below response “clustercontrol.severalnines.internal didn’t accept your login certificate” simply means that Mutual SSL authentication has been enforced on Apache2 and the client certificate has not been installed on the browser therefore access to CC UI won’t be allowed at this point.
-
Installing the Client Certificate on your Chrome Browser
- Go to the settings page by typing in “chrome://settings/” on the browser.
- On the settings page, you will see a section labeled “Privacy and Security”. Under this section, you will see a menu item labeled “Security”. Click on the menu item to get onto the Security settings page.
- Under the Security settings page, you will see the “Manage certificates” menu item under the Advanced Section of the page. Click on that item to get onto the Certificate settings page.
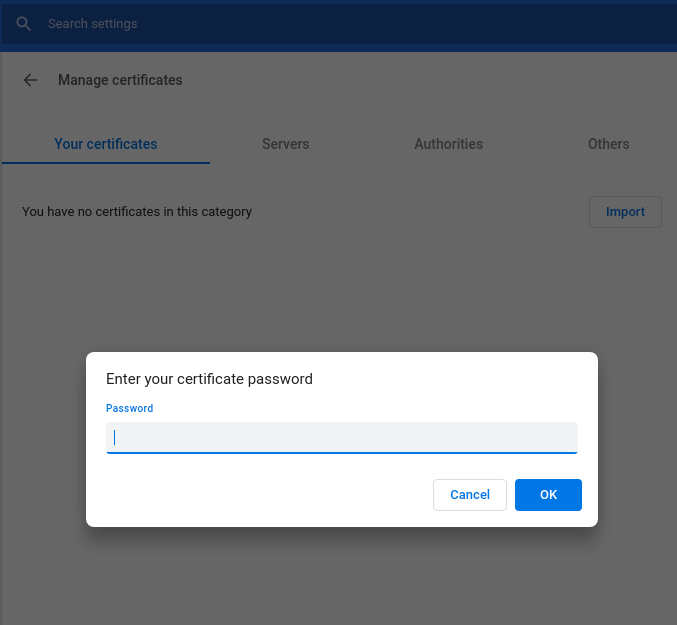
- You will immediately see an import button under “Your certificates”. Click on the button to import the PKCS12 (Pfx) file generated earlier in the steps above.
- You will be prompted to enter your certificate’s password as you had specified in the previous steps.
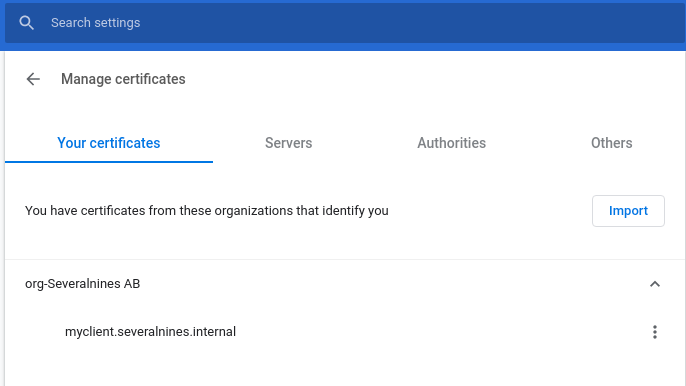
- You should be able to see your installed certificate as shown in the diagram below.
-
Accessing Cluster Control UI
The moment you try accessing ClusterControl you will be prompted to specify the client certificate that you want to use as in the diagram below. Be sure to select the appropriate one if you have more than one client certificates installed on your browser.
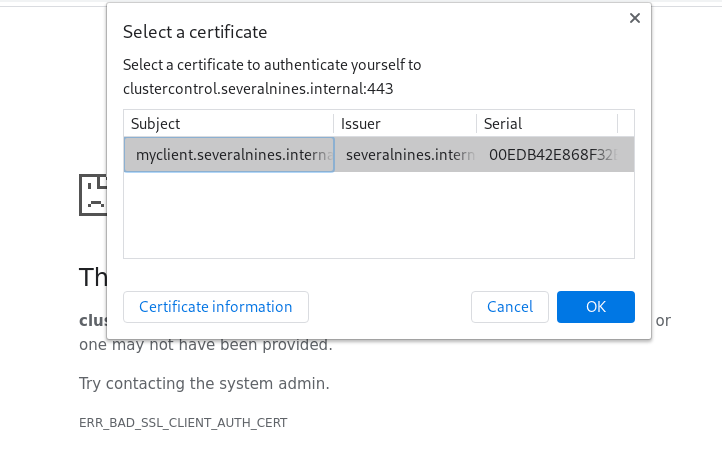
You should be able to access ClusterControl UI after selecting the certificate.
Conclusion
Using the steps above gives you a stepwise guide on how to implement Mutual SSL Authentication in ClusterControl. This should go a long way in ensuring that you always verify the identity of the user/client that is accessing the ClusterControl UI.


