blog
How to Configure AppArmor for MongoDB Replica Sets?

There are many sections and layers of security if we are talking about the hardening of databases. It starts from the encryption of the underlying storage disk, database access privileges, authentication, network access control, data in transmit using SSL/TLS and also hardening the operating system itself.
The hardening of the operating systems can also have many checklists, such as disabling or removing server services that will not be used and utilized, disabling the SSH root login, enabling rsyslog, restricting access using roots account from the console, enabling system auditing, and enabling SELinux.
Another part of security checklists is the AppArmor service. Apparmor is a Mandatory Access Control (MAC) system for security purposes which by default is included on Ubuntu and Debian based operating systems, it is also similar to SELinux on Redhat or CentOS based operating systems. The aim of AppArmor is to lockdown the vulnerable process in the operating system and restrict the damage of security vulnerabilities.
For example, if the MongoDB database is accidentally published into the internet and there was some malware that infected the database server and triggered some malicious code which MongoDB does intend to execute, the AppArmor will prevent such execution as the MongoDB profile is already configured to read, execute, and write only in specific MongoDB files.
In this blog, we will discuss the AppArmor implementation for MongoDB replica sets.
Database Deployment
If you are deploying MongoDB replica sets, ClusterControl can make your life easier. We just need to go through two deployment pages and then ClusterControl will be ready to deploy the MongoDB Replica Set. There are options for Disable SELinux/AppArmor during the deployment as you can see below:
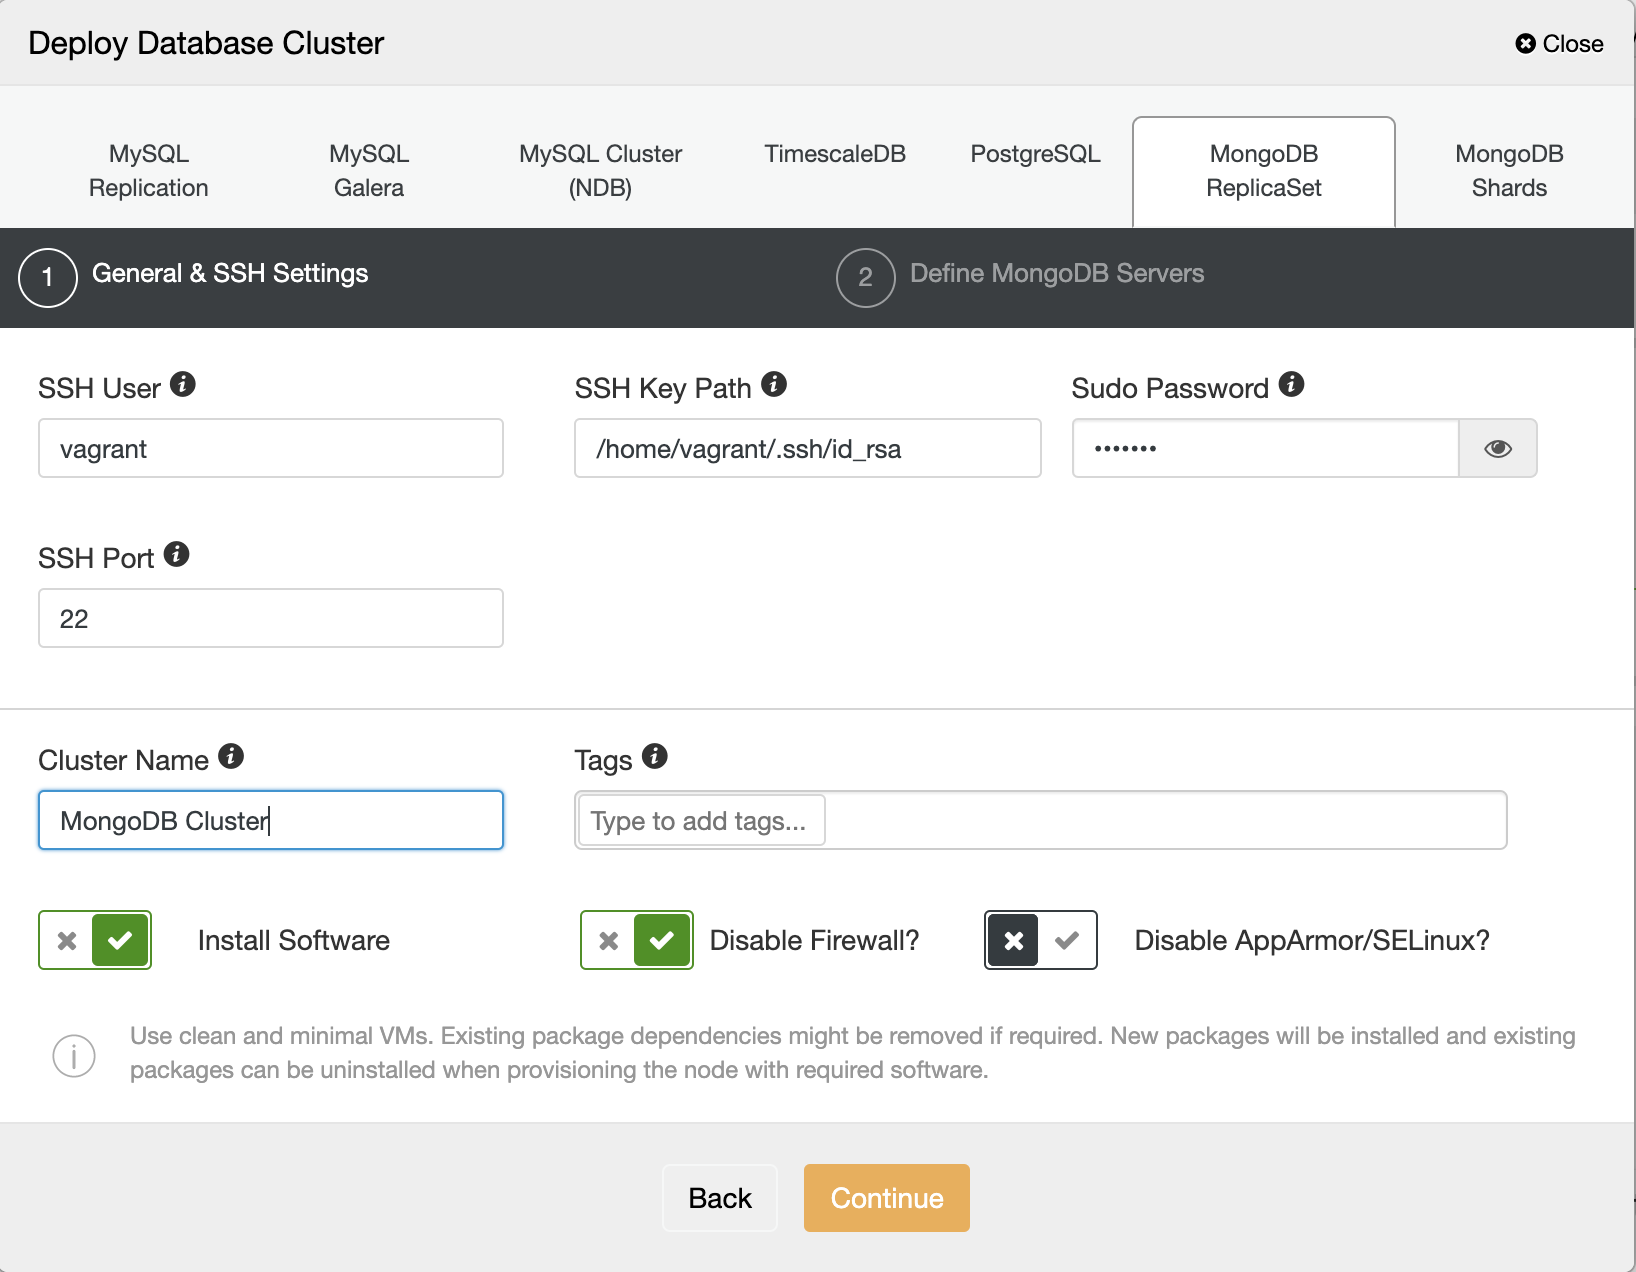
We can disable the option for AppArmor/SELinux. And then fill the database nodes IP Address, admin password, and the MongoDB version we want to deploy.
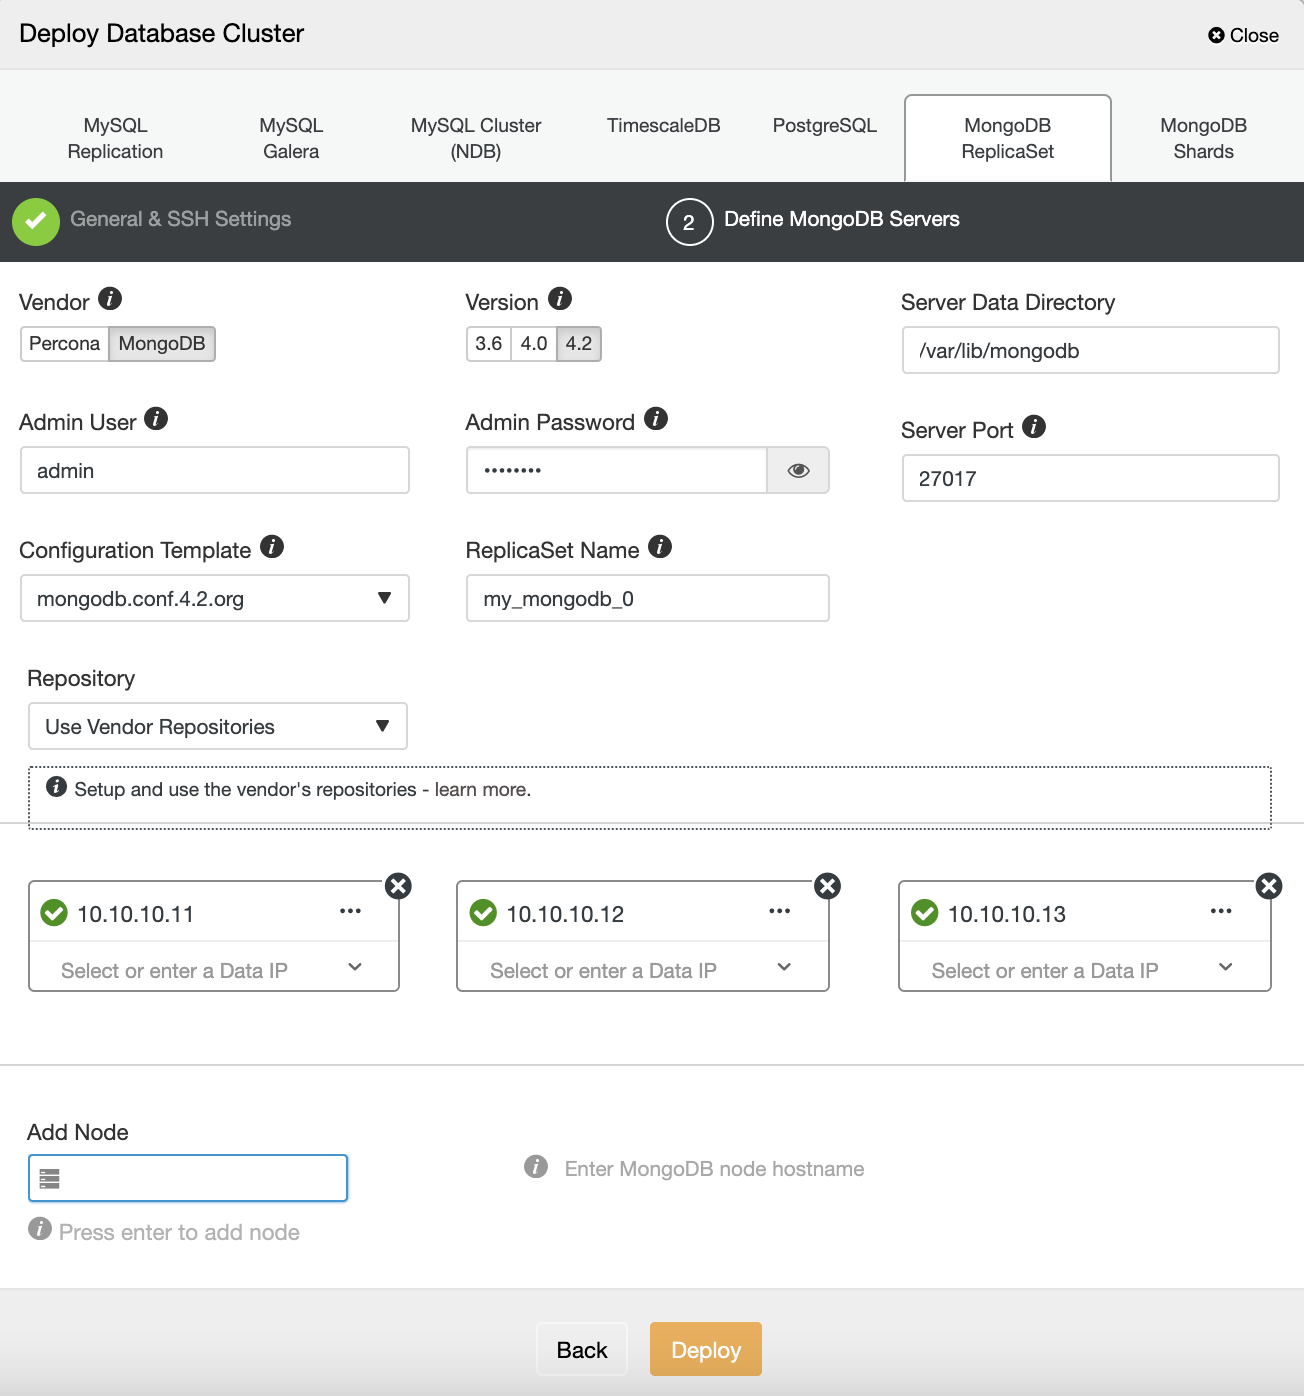
After the MongoDB Replica Set is deployed, we can jump into each node server for configuration of AppArmor.
AppArmor Settings
Every process is restricted by profiles in AppArmor. There are two options where the profile can be run, which is the enforce mode and the complaint mode. When the enforce mode is in use, it prevents the application taking restricted actions, while for the complaint mode, it allows the application to take restricted actions and create the log entry. Each profile is stored in directory /etc/apparmor.d
We can check the status of the AppArmor service by running the following command:
root@n2:/etc/apparmor.d# apparmor_status
apparmor module is loaded.
15 profiles are loaded.
15 profiles are in enforce mode.
   /sbin/dhclient
   /usr/bin/lxc-start
   /usr/bin/man
   /usr/lib/NetworkManager/nm-dhcp-client.action
   /usr/lib/NetworkManager/nm-dhcp-helper
   /usr/lib/connman/scripts/dhclient-script
   /usr/lib/snapd/snap-confine
   /usr/lib/snapd/snap-confine//mount-namespace-capture-helper
   /usr/sbin/tcpdump
   lxc-container-default
   lxc-container-default-cgns
   lxc-container-default-with-mounting
   lxc-container-default-with-nesting
   man_filter
   man_groff
0 profiles are in complain mode.
0 processes have profiles defined.
0 processes are in enforce mode.
0 processes are in complain mode.
0 processes are unconfined but have a profile defined.
It will give you information about the list of profiles that are loaded, how many profiles and processes in the complaint mode and enforce mode. We can use apparmor_parser command to load the profile into the kernel :
root@n2: cat /etc/apparmor.d/profile.name | sudo apparmor_parser -aAnd to disable the profile, we just need to create a symbolic link to the directory /etc/apparmor.d/disable.
root@n2: ln -s /etc/apparmor.d/profile.name /etc/apparmor.d/disableTo re-enable the profile, just remove the symbolic link and reload again the profile.
root@n2: rm /etc/apparmor.d/disable/profile.name cat /etc/apparmor.d/profile.name | apparmor_parser -aEnabling AppArmor for MongoDB Replica Sets
Before we use AppArmor on our MongoDB replica sets, we need to define the profile for MongoDB, register the mongodb binary service, data directories, and the log files, and allow some network and operating system access. We also can define the permission for each directory, binary, and the files. Below is a sample profile of the MongoDB service:
#include

/usr/sbin/mongod {
  #include
  #include
  #include
  #include

# Allow system resource access
  /sys/devices/system/cpu/ r,
  /sys/devices/system/node/ r,
  /sys/devices/system/node/** r,
  /proc/*/status r,
  capability sys_resource,
  capability dac_override,
  capability setuid,
  capability setgid,
  capability sys_nice,

# Allow network access
  network tcp,
  /etc/hosts.allow r,
  /etc/hosts.deny r,

# Allow config access
  /etc/mongod.conf r,

# Allow pid, socket, socket lock file access
  /var/run/mongod.pid rw,

# Allow systemd notify messages
  /{,var/}run/systemd/notify w,


# Allow execution of server binary
  /usr/sbin/mongo mr,
  /usr/sbin/mongod mr,
  /usr/sbin/mongos mr,
  /usr/sbin/mongotop mr,
  /usr/sbin/mongorestore mr,
  /usr/sbin/mongoimport mr,
  /usr/sbin/mongofiles mr,
  /usr/sbin/mongodump mr,

# Allow data files dir access
  /var/lib/mongodb/ r,
  /var/lib/mongodb/** rwk,

# Allow log file access
  /var/log/mongodb/ r,
  /var/log/mongodb/** rw,

# Allow access to openssl config
  /etc/mongo-cluster.key r,

  # Site-specific additions and overrides. See local/README for details.
}
We can put the above MongoDB profile into /etc/apparmor.d/usr.bin.mongod file and then run the apparmor_parser to load the profile.
root@n2: cat /etc/apparmor.d/usr.bin.mongod | sudo apparmor_parser -aIf we check using the apparmor_status, it will give information about the MongoDB profile which has been loaded:
root@n2:/etc/apparmor.d# apparmor_status
apparmor module is loaded.

57 profiles are loaded.
19 profiles are in enforce mode.
   /sbin/dhclient
   /usr/bin/lxc-start
   /usr/bin/man
   /usr/lib/NetworkManager/nm-dhcp-client.action
   /usr/lib/NetworkManager/nm-dhcp-helper
   /usr/lib/chromium-browser/chromium-browser//browser_java
   /usr/lib/chromium-browser/chromium-browser//browser_openjdk
   /usr/lib/chromium-browser/chromium-browser//sanitized_helper
   /usr/lib/connman/scripts/dhclient-script
   /usr/lib/snapd/snap-confine
   /usr/lib/snapd/snap-confine//mount-namespace-capture-helper
   /usr/sbin/mongod
   /usr/sbin/tcpdump
   lxc-container-default
   lxc-container-default-cgns
   lxc-container-default-with-mounting
   lxc-container-default-with-nesting
   man_filter
   man_groff
38 profiles are in complain mode.
   /usr/bin/mongod
   /usr/lib/chromium-browser/chromium-browser
   /usr/lib/chromium-browser/chromium-browser//chromium_browser_sandbox
   /usr/lib/chromium-browser/chromium-browser//lsb_release
   /usr/lib/chromium-browser/chromium-browser//xdgsettings
We can now repeat the steps outlined above on each node of our MongoDB replica set to make the MongoDB process restricted and secured by AppArmor.